9.1.OpenLink ODBC Driver for PostgreSQL (Express Edition) for Mac OS X
9.1.1. Installation Guide
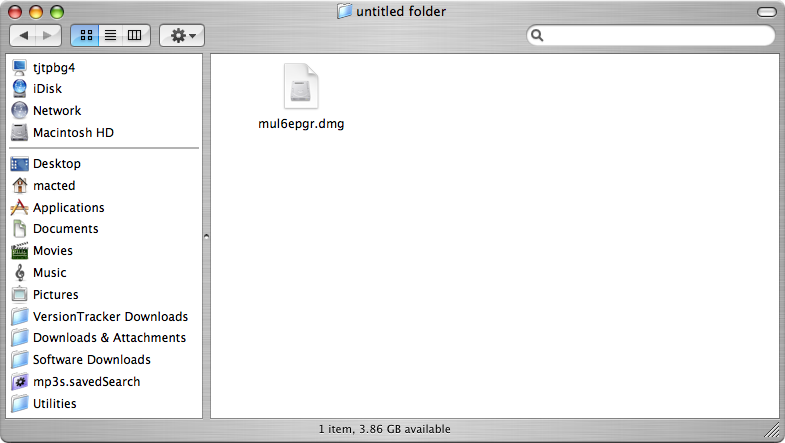
The OpenLink ODBC Driver for PostgreSQL (Express Edition) is distributed as a Disk image (DMG) file. Simply double click on the disk image 'mul6epgr.dmg' to extract the installer mpkg file:
Figure9.1.ee-pgr-00.png
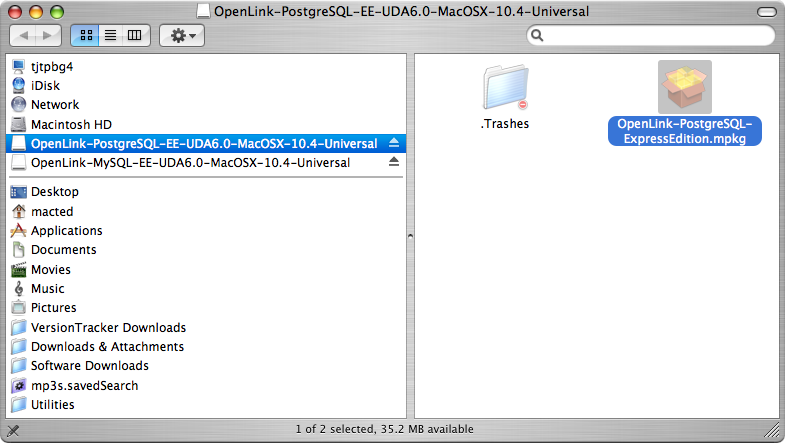
Double-click on the mpkg file to run the installer. Follow the on-screen instructions as indicated below to complete the installation:
Figure9.2.ee-pgr-01.png
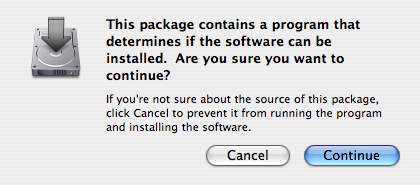
When prompted, permit the verification script to run. This simply checks to see that you are running a version of Mac OS X later than 10.3.0:
Figure9.3.ee-pgr-02.png
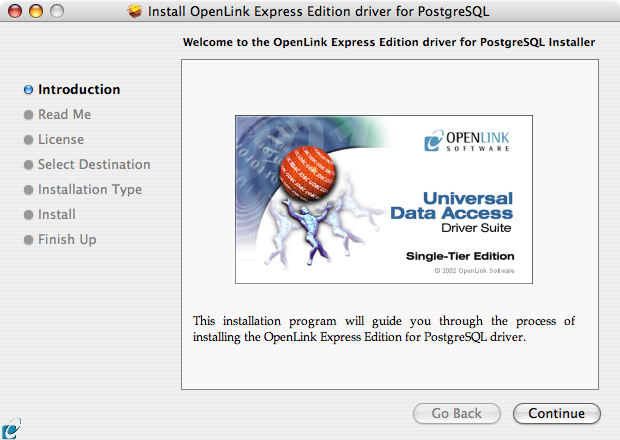
Review the Welcome message to confirm you're installing the right driver:
Figure9.4.ee-pgr-03.png
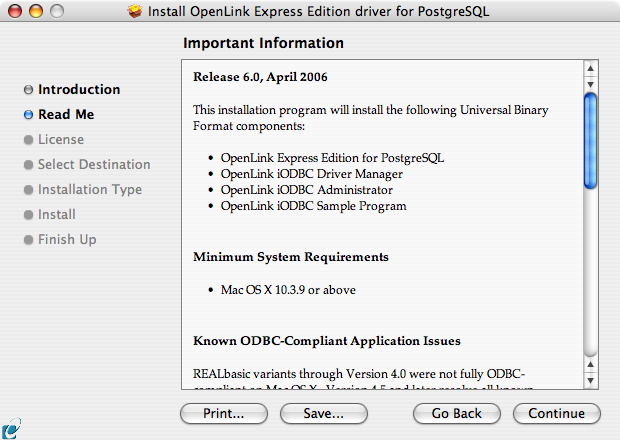
Review the ReadMe for installation requirements and any known issues:
Figure9.5.ee-pgr-04.png
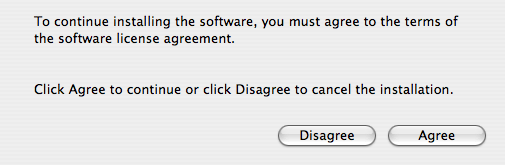
Please read and agree to the Software License Agreement before continuing your installation:
Figure9.6.ee-pgr-05.png
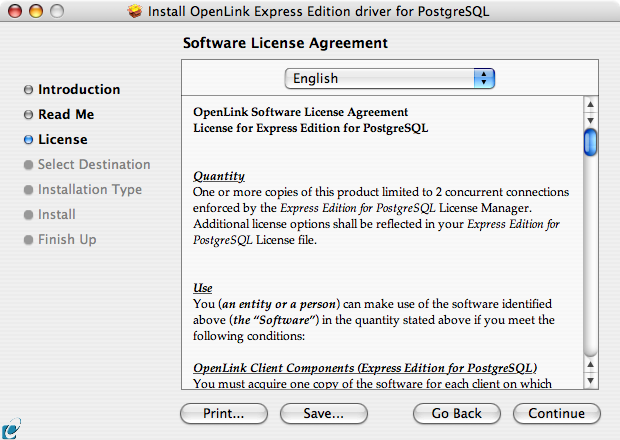
Figure9.7.ee-pgr-06.png
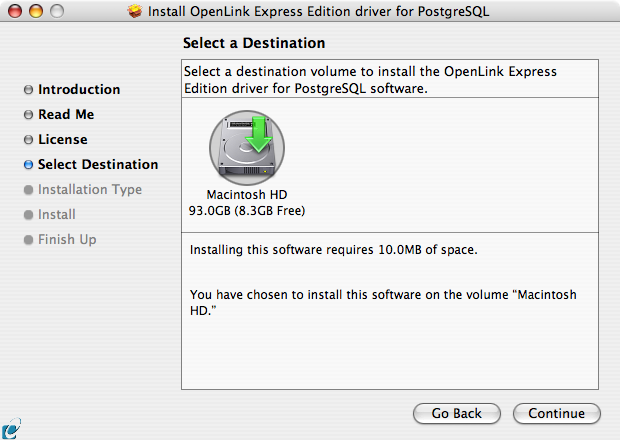
Select the destination volume for driver installation:
Figure9.8.ee-pgr-07.png
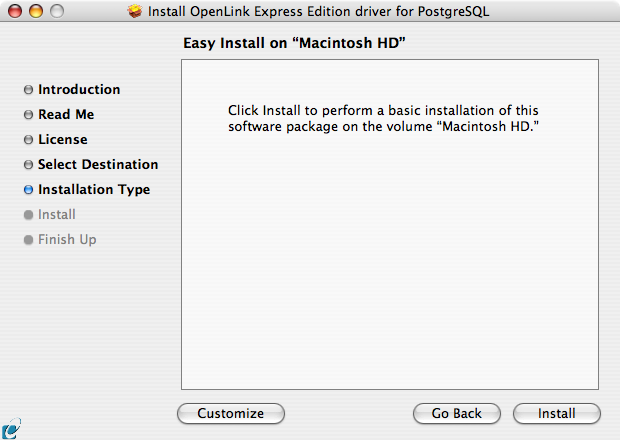
Accept the default installation of the driver, or click Customize to select specific components for installation:
Figure9.9.ee-pgr-08.png
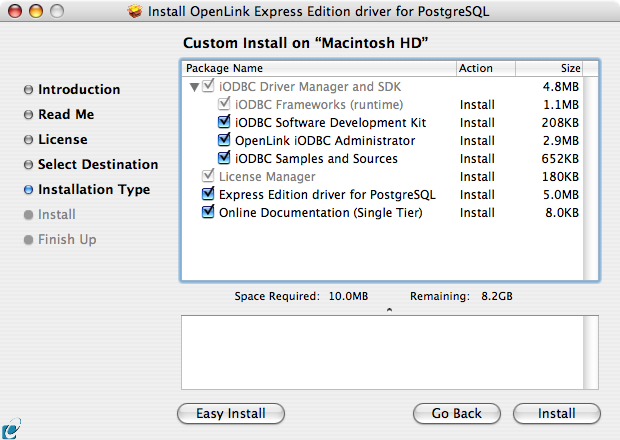
Select the components to be installed, or click Easy Install to return to the default:
Figure9.10.ee-pgr-09.png
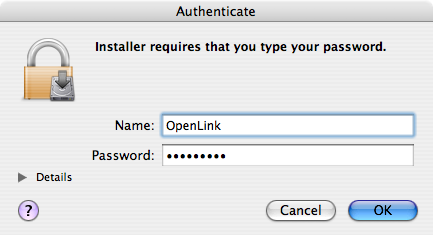
The Software must be installed as a user with Administrative privileges on the machine. When prompted, provide a relevant username and password:
Figure9.11.ee-pgr-10.png
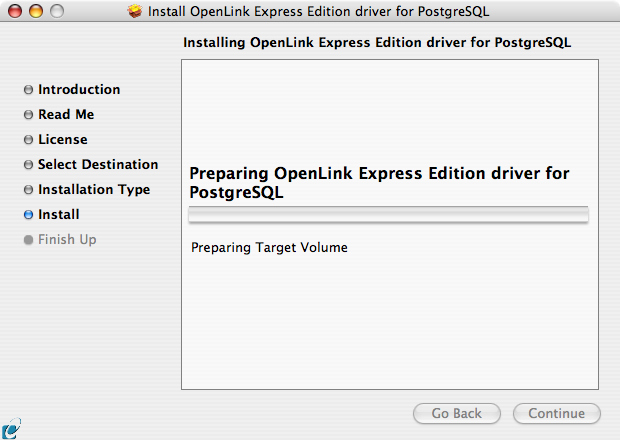
Installation will proceed.
Figure9.12.ee-pgr-11.png
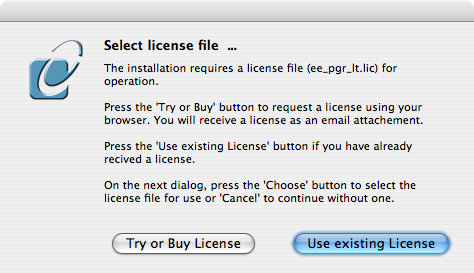
During installation, you will be prompted to select a license file for the driver. If such a license file already exists on the machine, then select the 'use existing file' option.
Figure9.13.ee-pgr-15.png
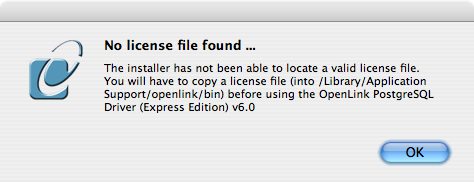
If you accidentally clicked this option, you can cancel out of the selection dialog. As the following alert will explain, you can manually apply the license file at any point in the future:
Figure9.14.ee-pgr-16.png
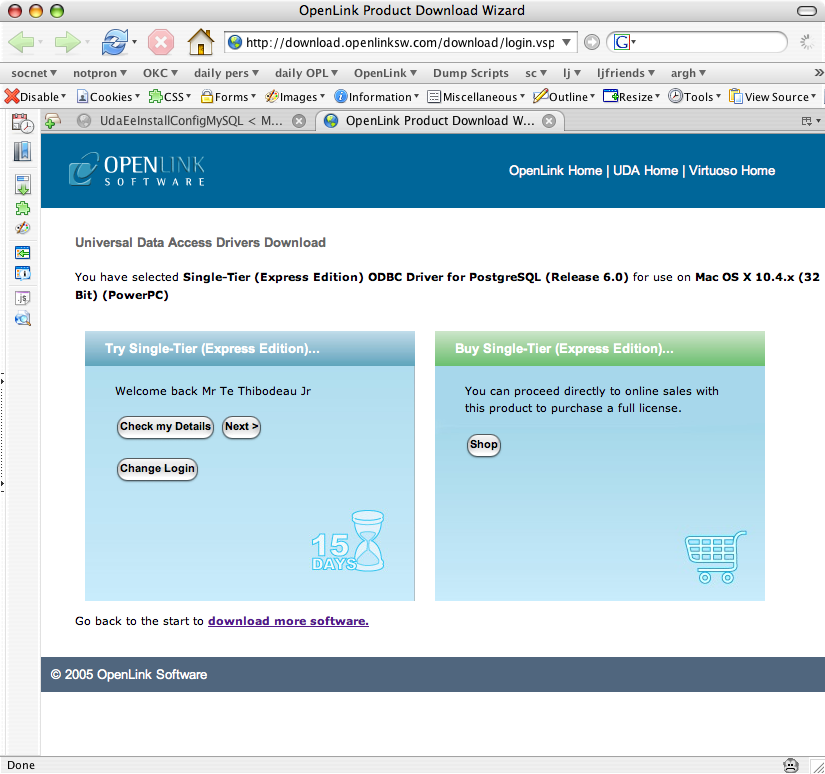
A trial or permanent license may be obtained by selecting the Try and Buy option which loads our online try and buy web page:
Figure9.15.ee-pgr-12.png
A permanent license may be obtained by clicking on the 'Shop' link to visit our online store, or you may obtain a trial license by registering with and logging in to the OpenLink Web site:
Figure9.16.ee-pgr-13.png
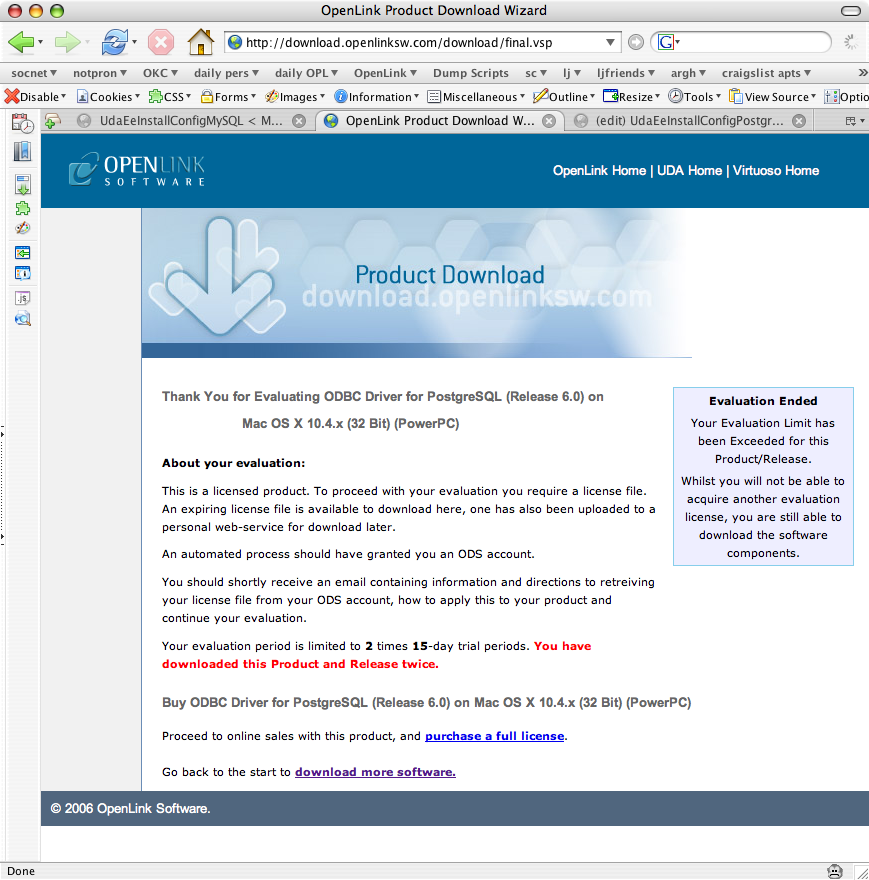
Click on the 'Download License' button to immediately obtain an evaluation license file; it will be saved to your Browser's download folder (which typically defaults to your desktop). A message will also be sent to your email address with a link to your OpenLink Data Space (ODS) Briefcase, where all non-expired trial and full license files will be stored for download at your convenience.
Figure9.17.ee-pgr-14.png
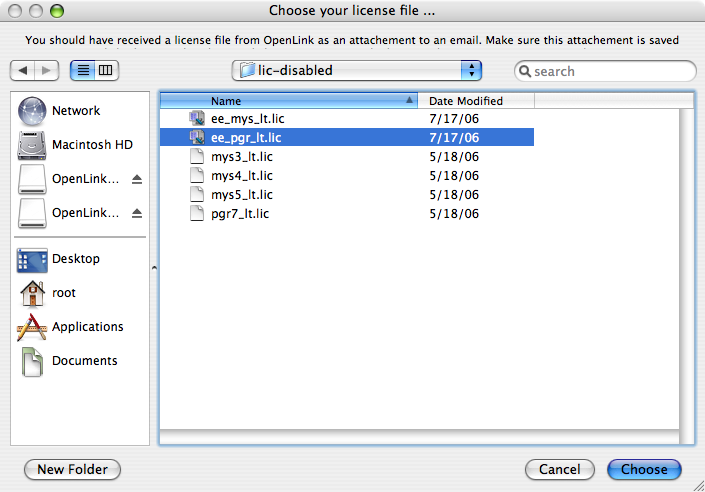
Close the browser, and proceed as if you had selected the option to use existing file . Select the license file to be used for the installation:
Figure9.18.ee-pgr-15.png
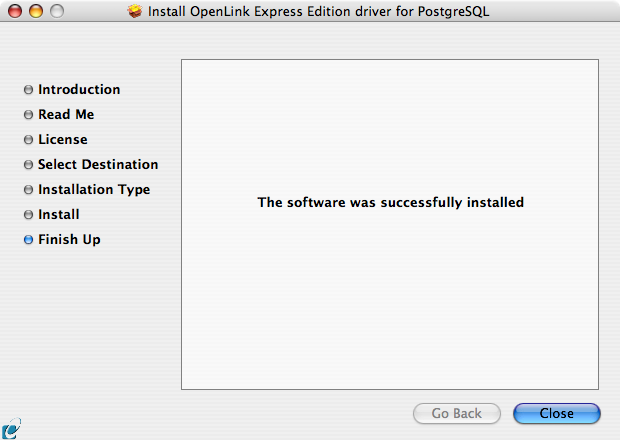
Installation is now complete, and you can exit the Installer and proceed to configure a DSN:
Figure9.19.ee-pgr-17.png
9.1.2. Configuration
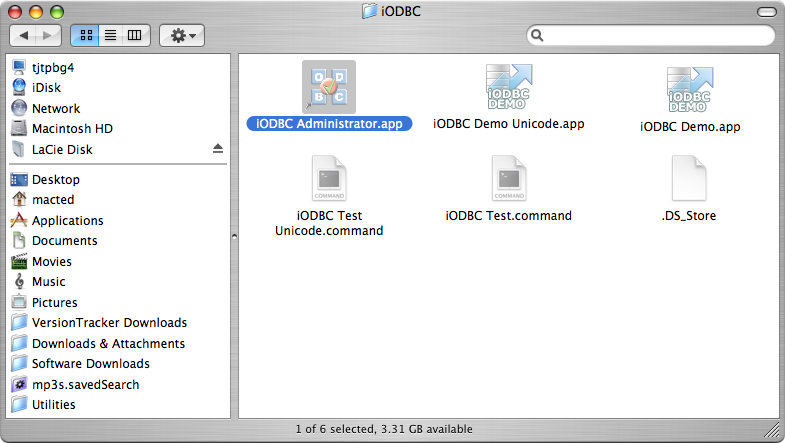
To configure an ODBC DSN, double-click the OpenLink ODBC Administrator.app located in /Applications/Utilities/, or the iODBC Administrator.app located in /Applications/iODBC/:
Figure9.20.ee-pgr-18.png
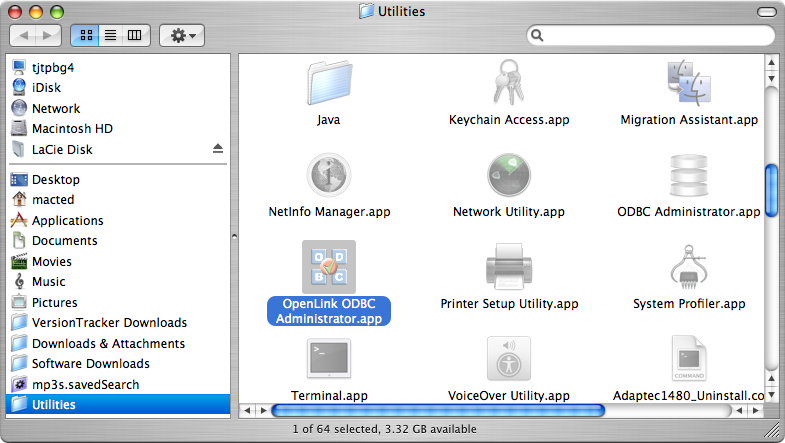
Figure9.21.ee-pgr-19.png
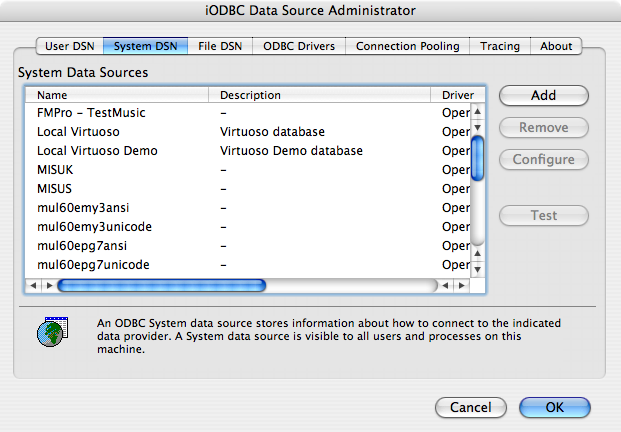
Click on the Add button, to create a new DSN (Data Source Name):
Figure9.22.ee-pgr-20.png
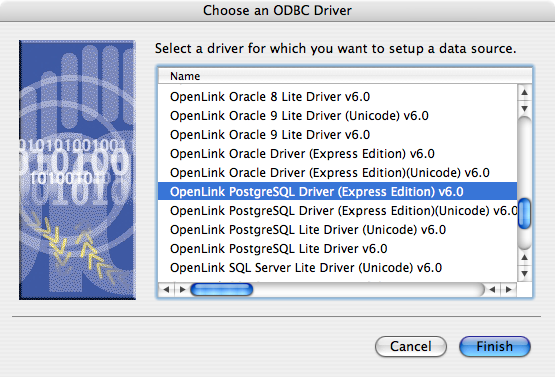
Choose the OpenLink PostgreSQL Driver (Express Edition) v6.0 from the list of available drivers. Choose the OpenLink PostgreSQL Driver (Express Edition)(Unicode) v6.0 if and only if you are working with multi-byte character sets, as unnecessary translations can significantly ODBC performance:
Figure9.23.ee-pgr-21.png
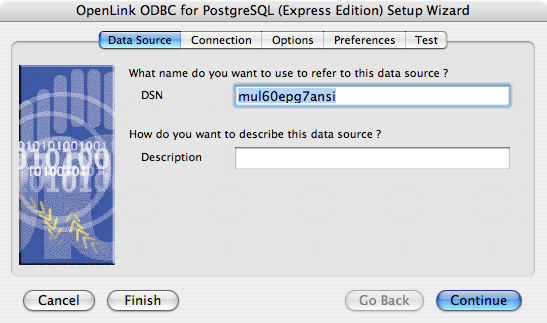
In the Data Source tab, enter a suitable name and optional description for the DSN being created:
Figure9.24.ee-pgr-22.png
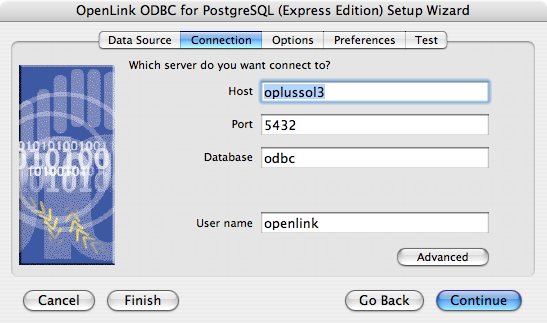
The Connection tab requests the minimum parameters required to make a connection to the target database:
-
Host - the name of the server on which the target PostgreSQL instance is running
-
Port - the port at which the target PostgreSQL instance is listening (default 5432)
-
Database - the name of a valid database in the target PostgreSQL instance
-
Username - a valid PostgreSQL username
Figure9.25.ee-pgr-23.png
If desired, click the Advanced button to set additional parameters relevant to the PostgreSQL connection. None of these need be changed for a basic connection:
PrepareThreshold Sets the default threshold for enabling server-side prepare. Default 0
Figure9.26.ee-pgr-24.png

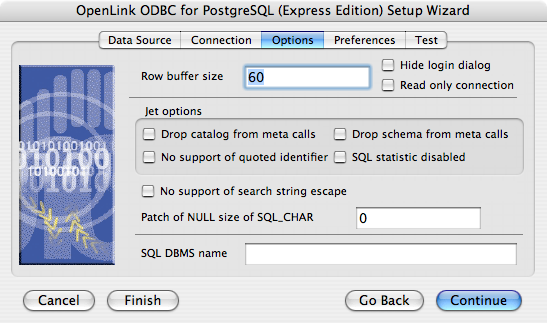
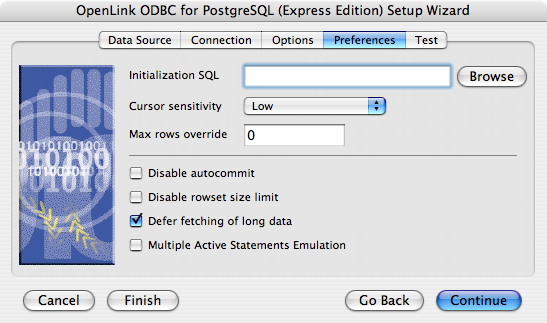
As suggested above, the parameters of the Options and Preferences tabs need not be changed for a basic connection:
Figure9.27.ee-pgr-25.png
-
Row Buffer Size - This attribute specifies the number of records to be transported over the network in a single network hop. Values can range from 1 to 99.
-
Hide Login Dialog - Suppress the ODBC "Username" and "Password" login dialog box when interacting with your ODBC DSN from within an ODBC-compliant application.
-
Read Only connection - Specify whether the connection is to be read-only. Make sure the checkbox is unchecked to request a read/write connection.
-
Drop Catalog from Meta calls - Enable this option to have the catalog name not appear for tables, views and procedures when requesting database metadata.
-
Drop Schema from Meta calls - Enable this option to have the schema-name not appear for tables, views and procedures when requesting database meta-data.
-
SQLStatistics disabled - Check this box to have SQLStatistics() return an empty resultset. Use this if the underlying database does not support retrieving statistics about a table (e.g. what indexes there are on it).
-
No support of quoted identifier - If it is set, the call SQLGetInfo for 'SQL_IDENTIFIER_QUOTE_CHAR' will return the space (" "). It can be used if DBMS doesn't support quoted SQL such as select * from "account"
-
No support of search string escape - If it is set, the call SQLGetInfo for 'SQL_LIKE_ESCAPE_CLAUSE' will return the space (" "). It can be used if DBMS doesn't support SQL escape patterns
-
Patch of NULL size of SQL_CHAR - If set this option overrides the size of SQL_CHAR column type returned by the database with the value set in the text box (in bytes). With the default value of 0 the driver uses the size returned by the database.
-
SQL_DBMS Name - Manually override the SQLGetInfo (SQL_DBMS_NAME) response returned by the driver. This is known to be required for products like Microsoft InfoPath for which the return the value should be "SQL Server".
Figure9.28.ee-pgr-26.png
-
Initialization SQL - Lets you specify a file containing SQL statements that will be run against the database upon connection, automatically.
-
Cursor Sensitivity - Enables or disables the row version cache used with dynamic cursors. When dynamic cursor sensitivity is set high, the Cursor Library calculates checksums for each row in the current rowset and compares these with the checksums (if any) already stored in the row version cache for the same rows when fetched previously. If the checksums differ for a row, the row has been updated since it was last fetched and the row status flag is set to SQL_ROW_UPDATED. The row version cache is then updated with the latest checksums for the rowset. From the user's point of view, the only visible difference between the two sensitivity settings is that a row status flag can never be set to SQL_ROW_UPDATED when the cursor sensitivity is low. (The row status is instead displayed as SQL_ROW_SUCCESS.) In all other respects, performance aside, the two settings are the same - deleted rows don't appear in the rowset, updates to the row since the row was last fetched are reflected in the row data, and inserted rows appear in the rowset if their keys fall within the span of the rowset. If your application does not need to detect the row status SQL_ROW_UPDATED, you should leave the 'High Cursor Sensitivity' checkbox unchecked, as performance is improved. The calculation and comparison of checksums for each row fetched carries an overhead. If this option is enabled, the table oplrvc must have been created beforehand using the appropriate script for the target database.
-
MaxRows Override - Allows you to define a limit on the maximum number of rows to returned from a query. The default value of 0 means no limit.
-
Disable AutoCommit - Change the default commit behaviour of the OpenLink Lite Driver. The default mode is AutoCommit mode (box unchecked).
-
Disable Rowset Size Limit - Disable the limitation enforced by the cursor library. The limitation is enforced by default to prevent the Driver claiming all available memory in the event that a resultset is generated from an erroneous query is very large. The limit is normally never reached.
-
Defer fetching of long data - Defer fetching of LONG (BINARY, BLOB etc.) data unless explicitly requested in query. This provides significant performance increase when fields in query does not include LONG data fields.
-
Multiple Active Statements Emulation - Enables use of Multiple Active statements in an ODBC application even if the underlying database does not allow this, as it is emulated in the driver.
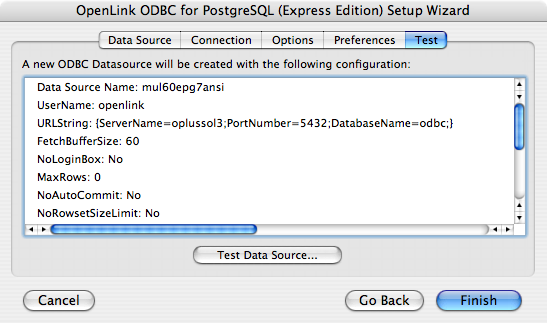
Click on the Test Data Source button to make a connection to the database to verify connectivity:
Figure9.29.ee-pgr-27.png
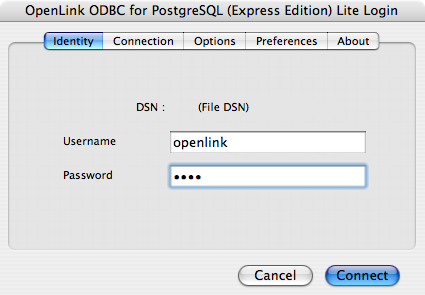
Enter a valid username and password for the target database:
Figure9.30.ee-pgr-28.png
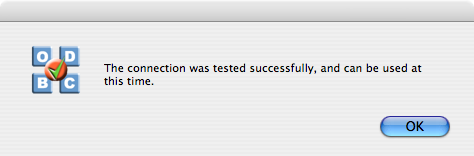
A successful connection to the database has been made:
Figure9.31.ee-pgr-29.png