2.6. Virtuoso ADO.Net Data Grid Form Application
This section details the steps required to create a simple Visual Studio 2008 Windows Form application with associated DataGridView control for displaying data in selected tables from a Virtuoso database.
-
Launch the Visual Studio 2008 SP1 IDE.
Figure 2.75. Visual Studio
-
Create a Web Application project by going to the File menu in Visual Studio and choosing New Project.
-
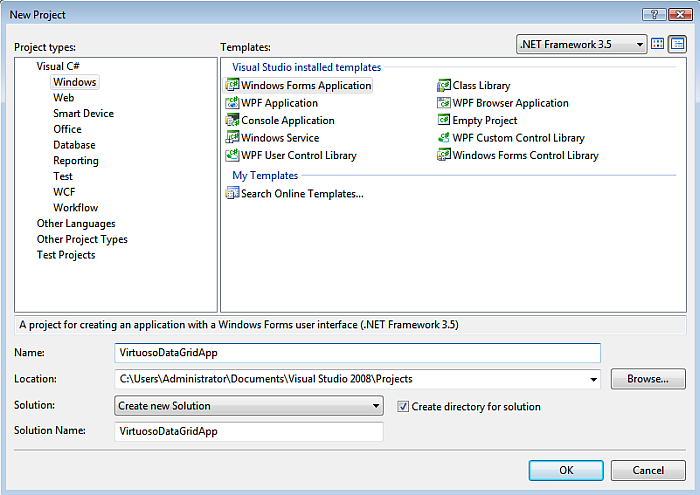
When the New Project window appears, choose either Visual Basic or Visual C# as the programming language.
-
Within the language category, click on Windows and select Windows Form Application from the right-hand panel.
-
Choose a name for the project, for example VirtuosoDataGridApp, and click OK.
Figure 2.76. name for the project
-
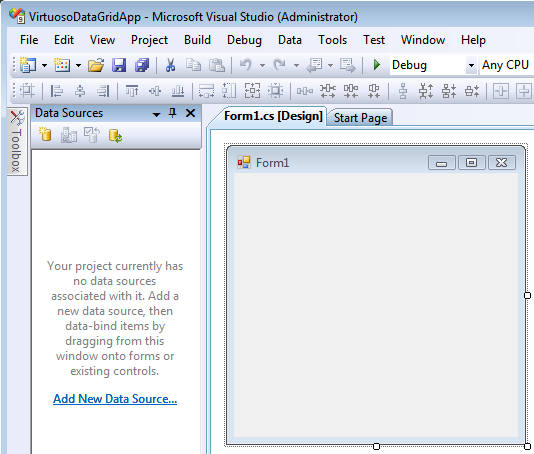
From the Data, menu select the Show Data Sources menu item to display a list of available Data sources.
Figure 2.77. Show Data Sources

-
Click on the Add New Data Source link to add a new data source.
Figure 2.78. Add New Data Source
-
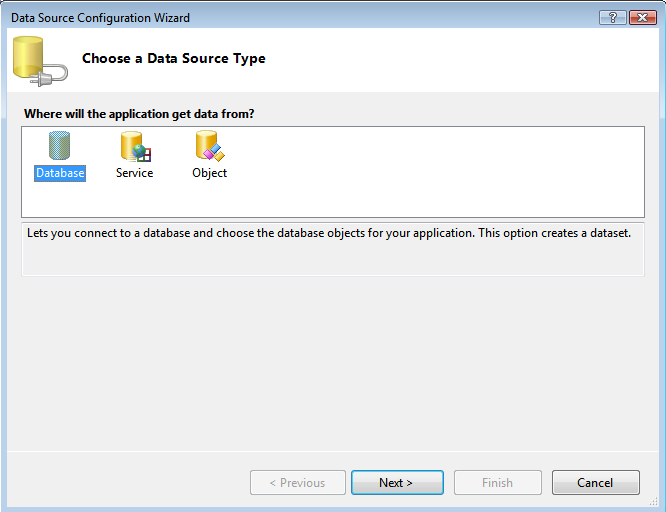
In the Data Source Configuration Wizard dialog Choose Data Source Type page, select the Database data source type and click Next.
Figure 2.79. Data Source Configuration Wizard
-
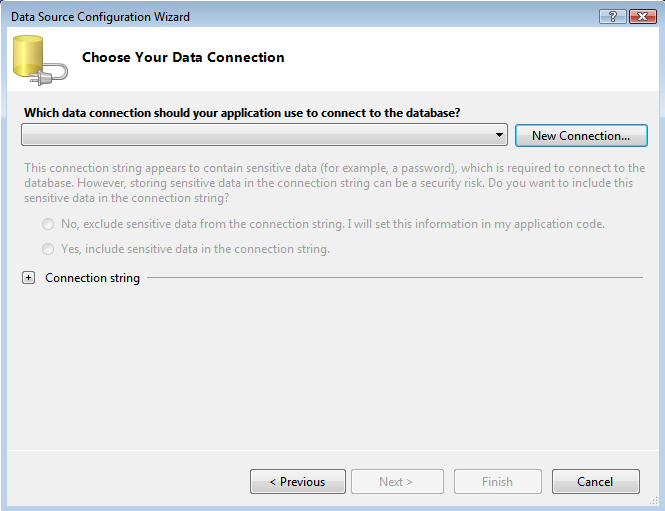
In the Data Source Configuration Wizard dialog Choose your Data Connection page, select the New Connection button.
Figure 2.80. Data Connection page
-
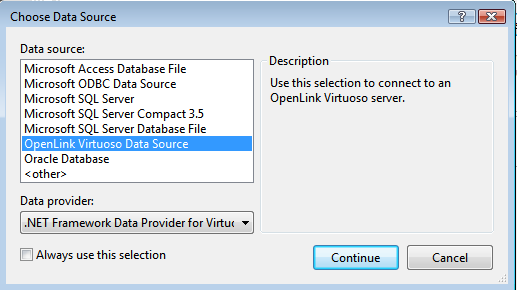
In the Choose Data Source dialog, select OpenLink Virtuoso Data Source from the list and click Continue.
Figure 2.81. OpenLink Virtuoso Data Source
-
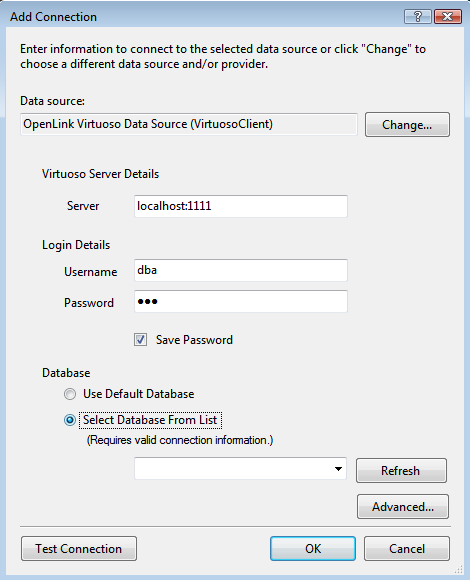
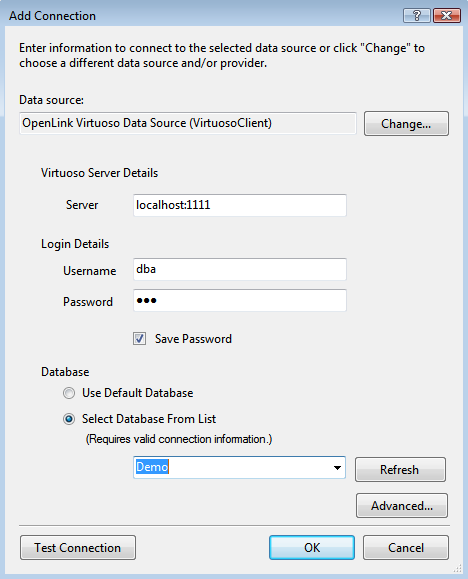
In the Add Connection dialog, specify the hostname, portno, username, and password for the target Virtuoso Server and check the Save Password check box.
Figure 2.82. Add Connection dialog
-
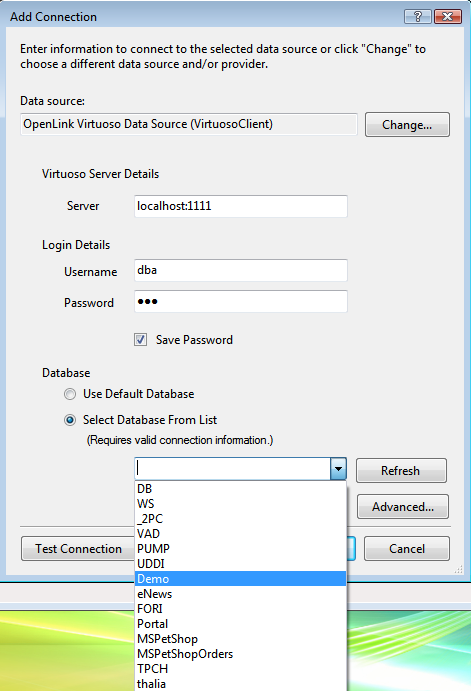
Select the Select Database From List radio button and choose School from the drop down list of available databases.
Figure 2.83. Select Database From List
-
Click the Test Connection button to verify the connection is successful and then click OK to add the connection.
Figure 2.84. Test Connection
-
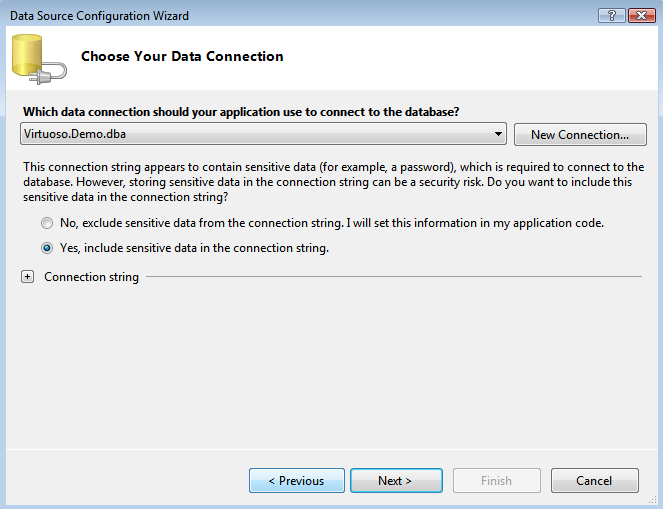
Select the Yes, include sensitive data in the connect string radio button and click Next to continue.
Figure 2.85. connect string
-
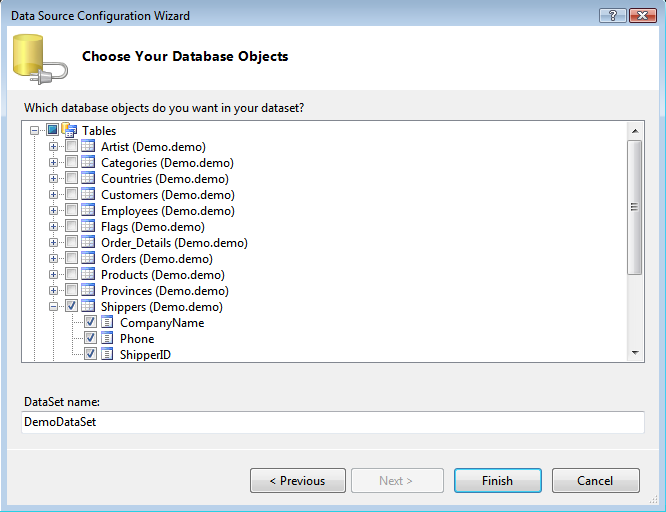
In the Choose your Database Objects dialog select the table and columns to be queried, the shippers table is used in this example.
Figure 2.86. Choose your Database Objects
-
A DataSet for the shippers database object is created
Figure 2.87. shippers database
-
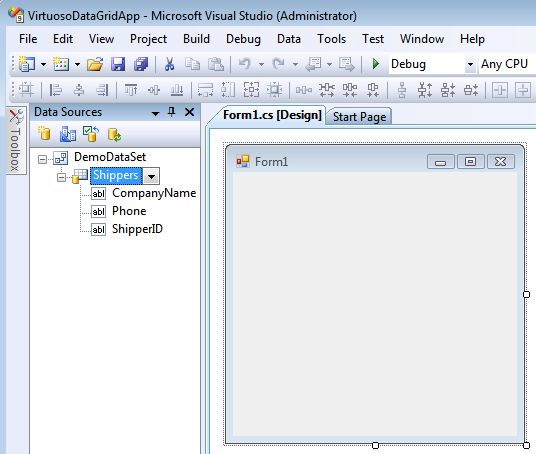
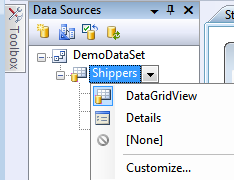
From the drop down list box next to the Shippers table ensure the DataGridView item is selected
Figure 2.88. DataGridView
-
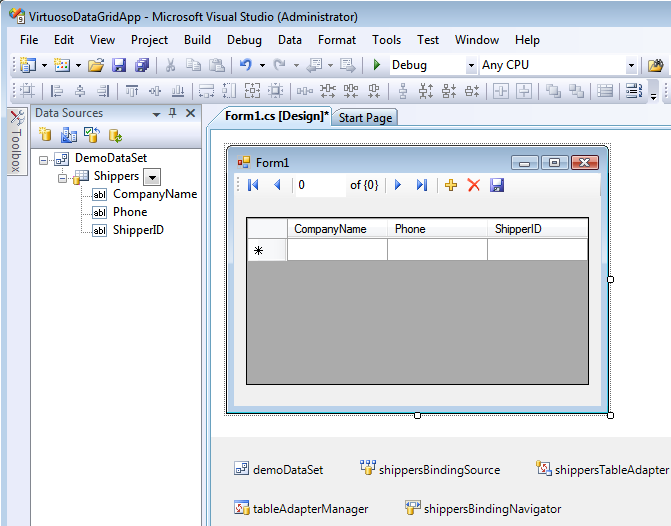
Drag the Shippers DataSet item onto the Form to create a scrollable and editable association of the Shippers table object with the Data Grid View automatically.
Figure 2.89. Drag
-
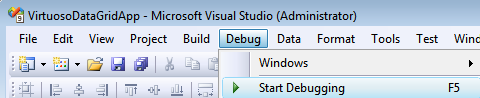
From the Debug Menu select the Start Debugging menu item to run the application.
Figure 2.90. Debug
-
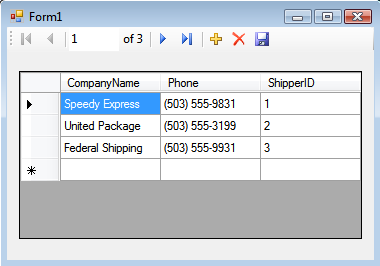
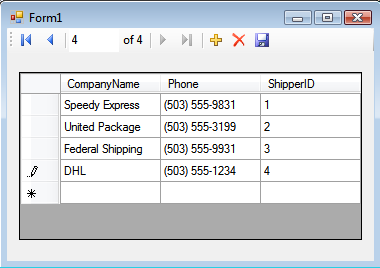
The data in the Shippers table will be displayed in the DataGrid application created.
Figure 2.91. DataGrid
-
A new row can be inserted (updated or deleted) as indicated for the new DHL record inserted below and the save button clicked to save the change to the database.
Figure 2.92. new row
-
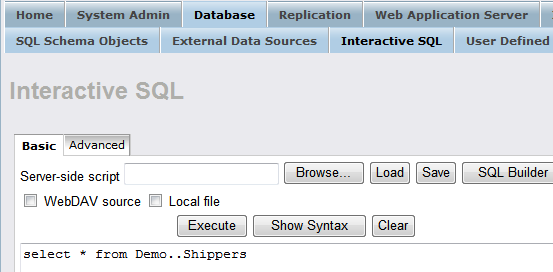
The Virtuoso Interactive SQL tab of the Conductor can be used to run the query select * from Demo..Shippers.
Figure 2.93. Interactive SQL tab
-
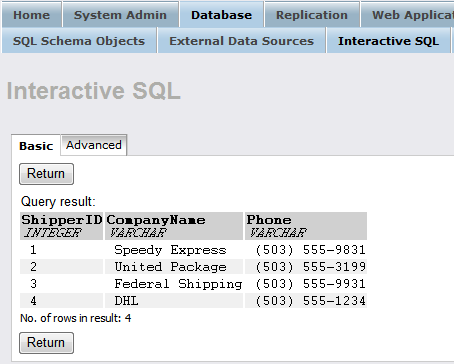
To verify the change has been successfully made in the database.
Figure 2.94. verify
The task is now complete.