2.7.2. Create the School database and schema
-
Download the Schools Database VAD (schools_db_dav.vad) package.
-
Navigate to the
System Admin -> Packages
tab of the Virtuoso Conductor.
Figure 2.95. Conductor Packages

-
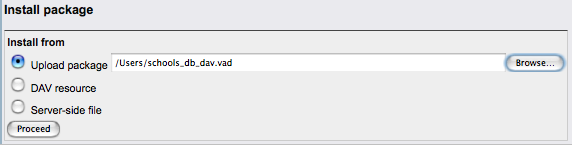
Scroll down to the
Install Package
section of the tab, use the
Upload Package
option
Browse
button to locate the schools_db_dav.vad package and click
proceed
.
Figure 2.96. Install package
-
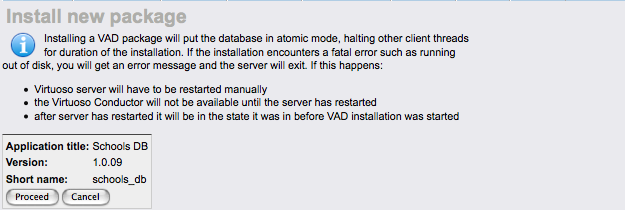
Click the
Proceed
button to begin the installation process.
Figure 2.97. Install package.
-
Once complete return to the
Packages
tab and scroll down to confirm the *schools_db* package is listed as installed.
Figure 2.98. Install package

Create the Course Manager application using Visual Studio
-
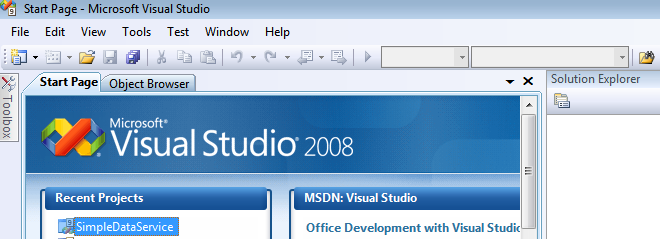
Launch the Visual Studio 2008 SP1 IDE.
Figure 2.99. Visual Studio 2008 SP1 IDE
-
On the
File menu
click
New Project
.
-
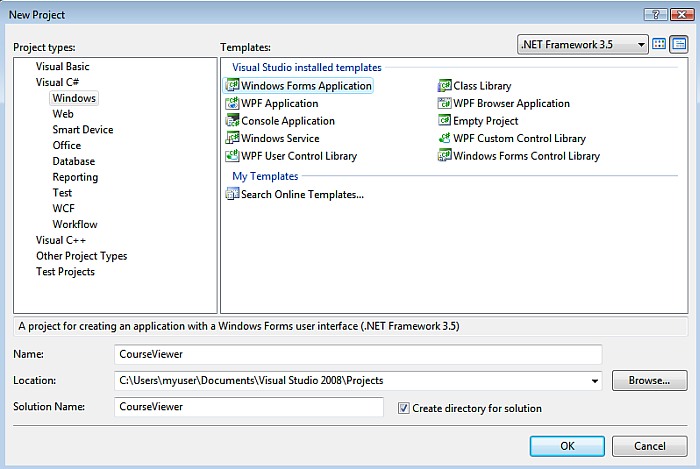
Choose either
Visual Basic
or
Visual C#
in the
Project Types
pane.
-
Select
Windows Forms Application
in the
Templates
pane.
-
Enter
CourseManager
for the project name, and then click
OK
.
Figure 2.100. Create project
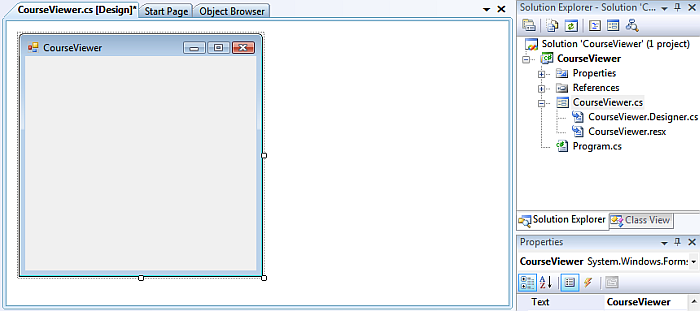
Create the Course Viewer form
-
In the CourseManager project, select the default form (Form1).
-
In the File Properties pane, change the File Name to CourseViewer.vb or CourseViewer.cs .
-
In Solution Explorer , double-click CourseViewer.vb or CourseViewer.cs to open the form.
Figure 2.101. CourseViewer.vb
-
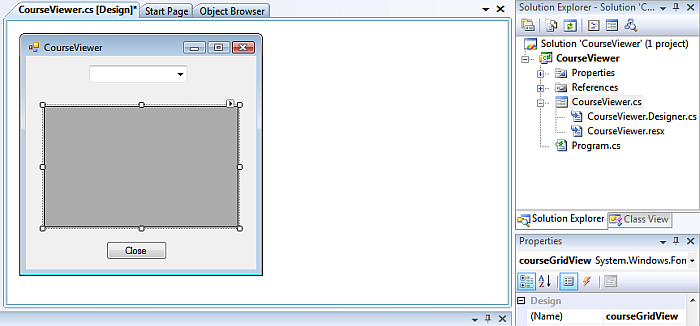
In the Toolbox , expand Common Controls , drag the ComboBox control to the form, and change the name of the control to departmentList .
-
In the Toolbox , drag the Button control to the form, change the Name of the control to closeForm , and change the Text value to Close .
-
In the Toolbox , expand Data , drag the DataGridView control to the form, and change the Name of the control to courseGridView .
Figure 2.102. DataGridView
-
Double-click the closeForm button control. This opens the code page for the form and creates the closeForm_Click event handler method.
-
In the closeForm_Click event handler method, type the following code that closes the form:
Visual Basic

' Close the form.
Me.Close()

C#

// Close the form.
this.Close();