8.5.3. Linking Informix tables into OpenLink Virtuoso
-
Start the Virtuoso Web User Interface
Figure 8.214. Start

-
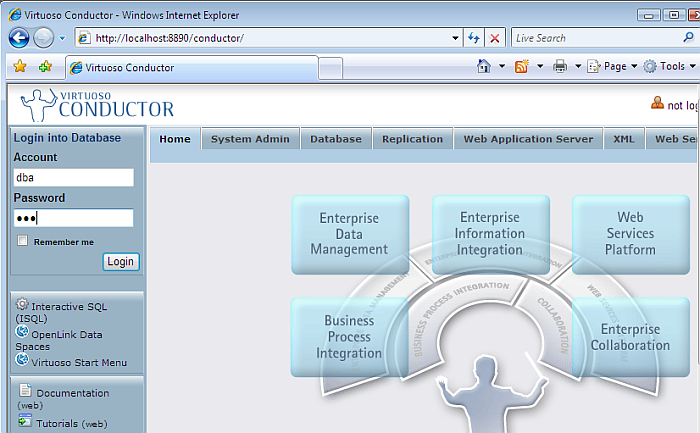
Select the "Conductor" link in the Left Frame and Login as the "dba" user.
Figure 8.215. Conductor
-
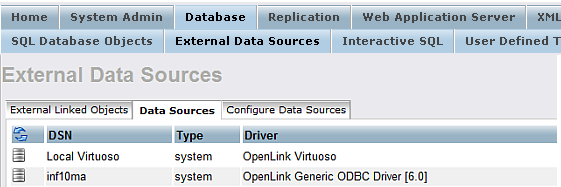
Select the "Databases" -> "External Data Source" -> "Data Sources" tab menu items
Figure 8.216. Databases
-
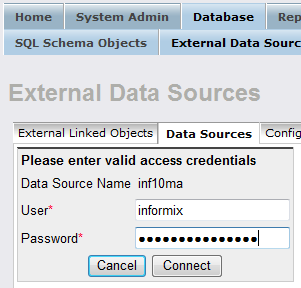
Select the "Connect" button for the "inf10ma" Informix DSN.
Figure 8.217. Connect
-
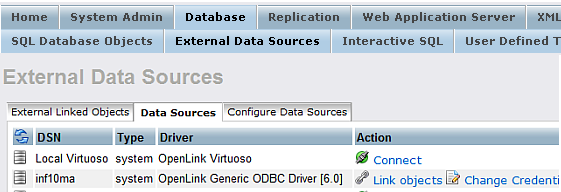
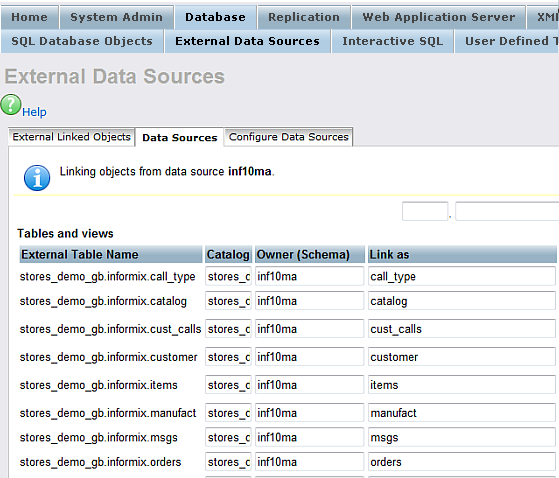
On successful connection Select the "Link Objects" button to obtain a list of available tables
Figure 8.218. Link Objects
-
Select all the tables that are part of the "stores_demo" catalog.
Figure 8.219. Select all tables

-
Change the Catalog for each table to be "stores_demo" using the "Set All" button.
Figure 8.220. Catalog
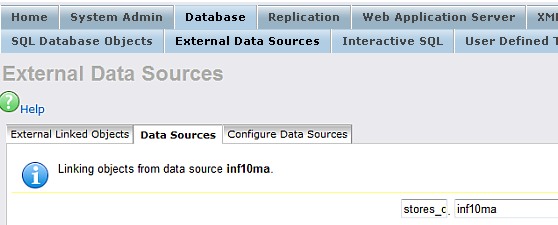
-
All the catalog names are changed to be "stores_demo".
Figure 8.221. catalog names
-
Select the "Link" button to link the selected tables into Virtuoso
Figure 8.222. "Link" button

-
On completion of the Link process the tables will be displayed in the "External Linked Objects" tab.
Figure 8.223. Completion
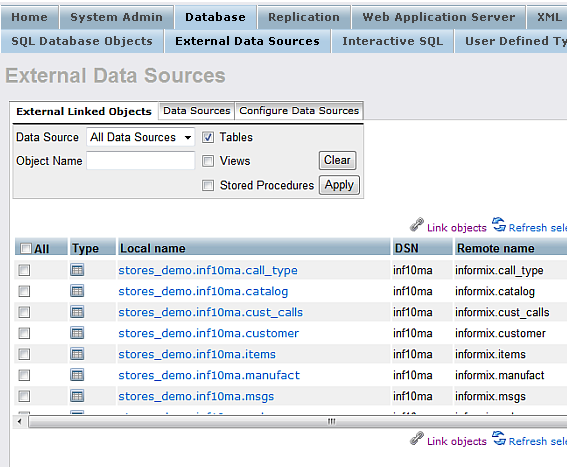
-
At this point you can test the remotely linked tables by clicking on the link that accompanies each table. e.g. stores_demo.inf10ma.customer.
This will display the Interactive ISQL interface which will have been already populated with a suitable SQL statement.
Figure 8.224. Querying
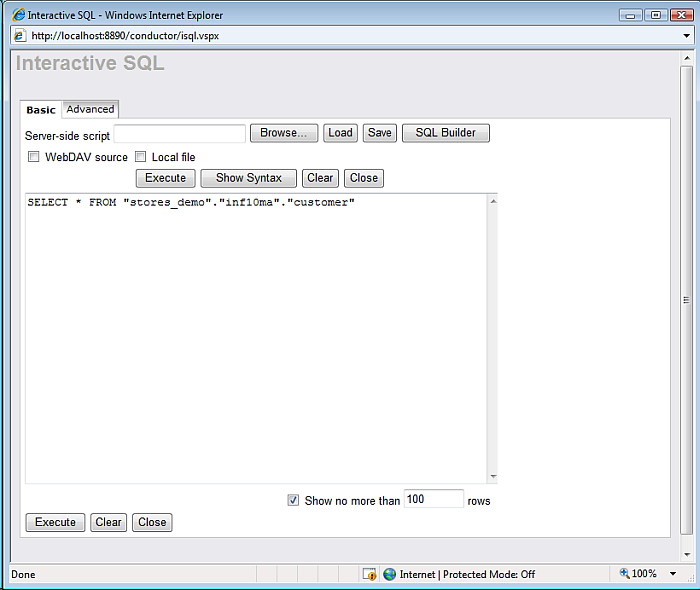
-
Select Execute to see data from the remotely linked table.
Figure 8.225. Execute

-
The tables can also be viewed as part of the Virtuoso "SQL Schema Objects" under the "stores_demo" catalog name.
Figure 8.226. SQL Schema Objects

The Link process is now complete enabling the tables to be queried as if part of the Virtuoso Schema.