8.11.2. Linking ODBC to ODBC Bridge tables into OpenLink Virtuoso
-
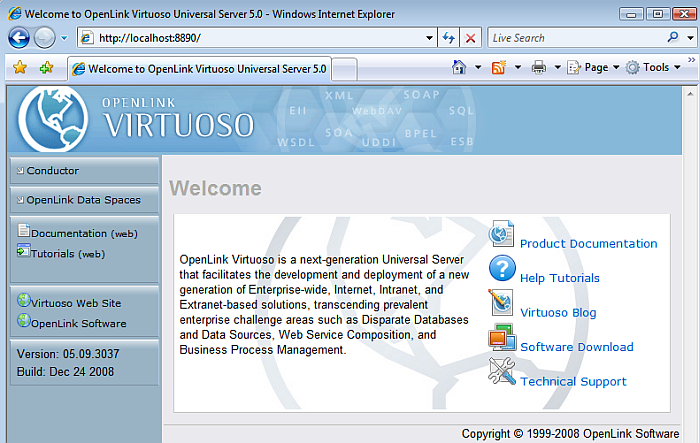
Start the Virtuoso Web User Interface
Figure 8.546. Start
-
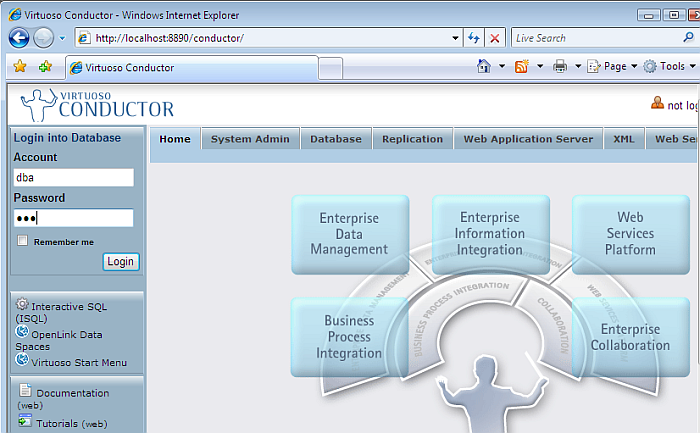
Select the "Conductor" link in the Left Frame and Login as the "dba" user.
Figure 8.547. Conductor
-
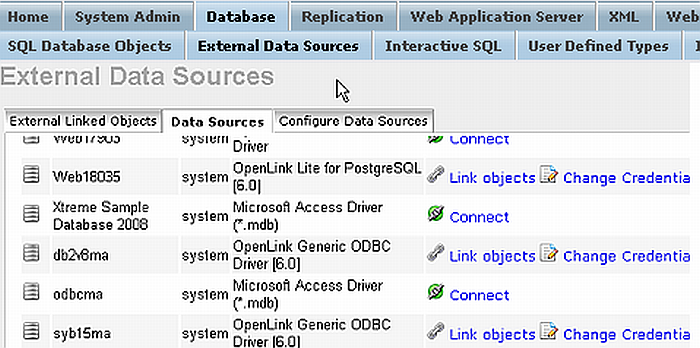
Select the "Databases" -> "External Data Source" -> "Data Sources" tab menu items
Figure 8.548. Databases
-
Select the "Connect" button for the "odbcma" ODBC to ODBC Bridge DSN.
Figure 8.549. Connect

-
On successful connection Select the "Link Objects" button to obtain a list of available tables
Figure 8.550. Link Objects

-
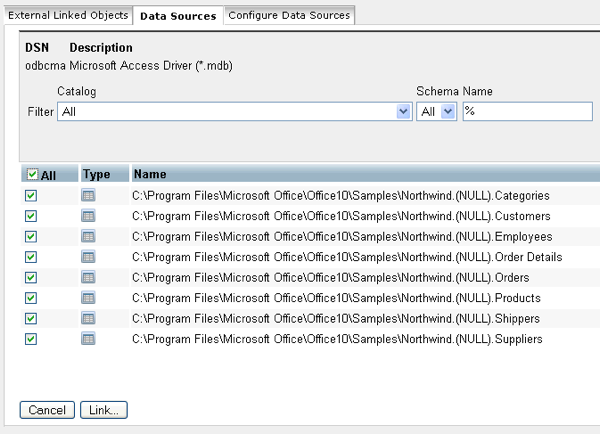
Select all the tables that are part of the "Northwind" catalog.
Figure 8.551. Select tables
-
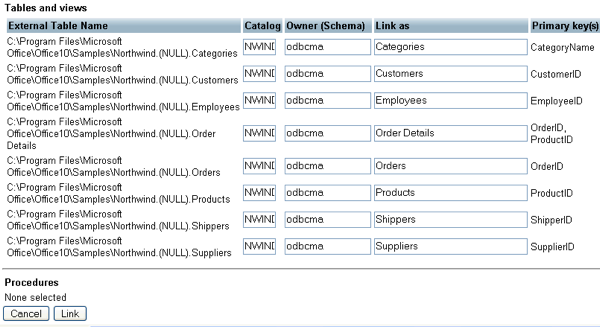
Change the Catalog for each table to be "NWIND" using the "Set All" button.
Figure 8.552. "Link" button

-
All the catalog names are changed to be "NWIND".
-
Select the "Link" button to link the selected tables into Virtuoso
Figure 8.553. "Link" button
-
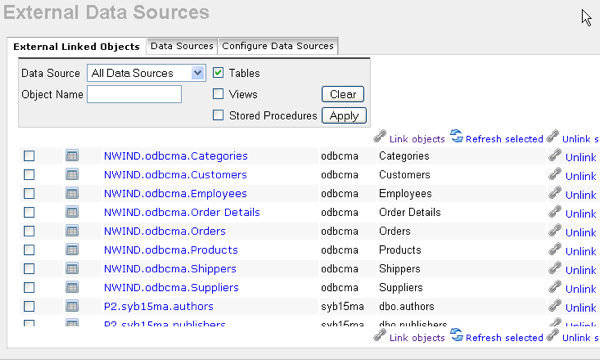
On completion of the Link process the tables will be displayed in the "External Linked Objects" tab.
Figure 8.554. Completion
-
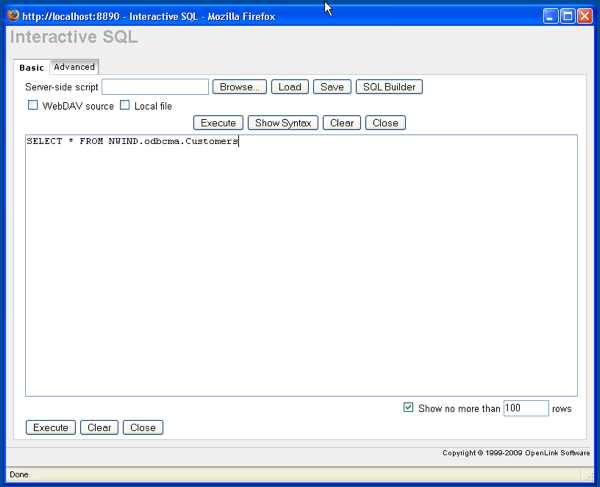
The linked tables can be queried by clicking on the hyperlink in the "Local Name" column of the "External Linked Objects" tab above, which loads the Virtuoso "Interactive SQL" interface with the required SQL "Select" for retrieving the remote table data. We shall use the "NWIND.odbcma.Customers" table to demonstrate this.
Figure 8.555. Completion
-
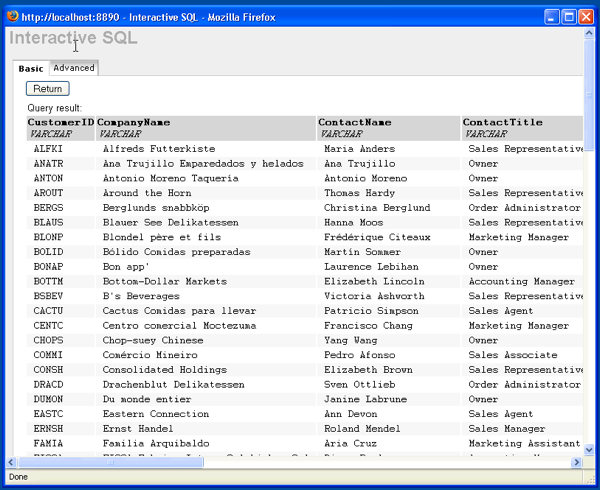
Then click the "Execute" button to run the query and retrieve the results from the remote table.
Figure 8.556. Completion
-
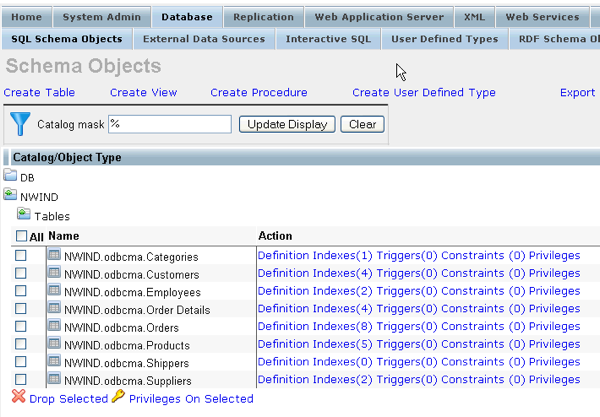
The tables can also be viewed as part of the Virtuoso "SQL Schema Objects" under the "NWIND" catalog name.
Figure 8.557. view tables
The Link process is now complete enabling the tables to be queried as if part of the Virtuoso Schema.
