17.3.9. Set Up X.509 certificate issuer, HTTPS listener and generate ODS user's certificates
The following Step-by-Step guide walks you through set up of an X.509 certificate issuer and HTTPS listener, and generation of ODS user certificates.
-
Install ODS and Virtuoso Conductor VAD packages.
Figure 17.7. Setting-Up issuer CA
-
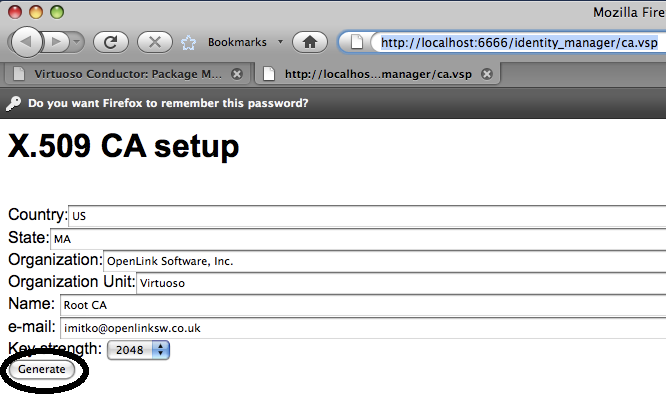
Go to the http://cname:port/identity_manager URL, enter the DBA user credentials in the dialog presented.
Figure 17.8. Setting-Up issuer CA

-
Enter the Issuer details and click generate.
Figure 17.9. Setting-Up issuer CA
-
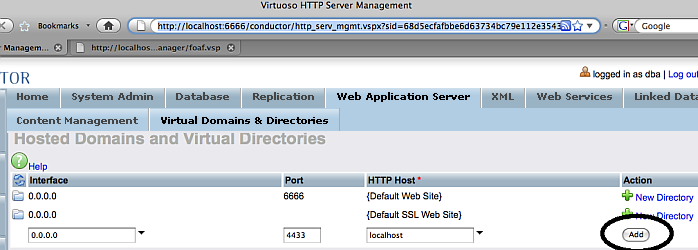
Go to Conductor -> Web Application Server -> Virtual Domains & Directories, and add a new listener.
Figure 17.10. Setting-Up issuer CA
-
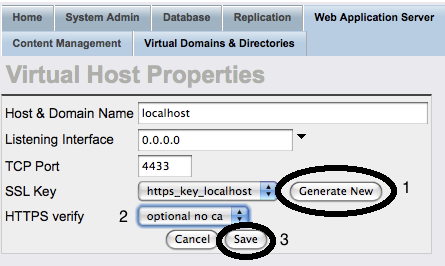
Edit the new listener, and generate new key.
Figure 17.11. Setting-Up issuer CA
-
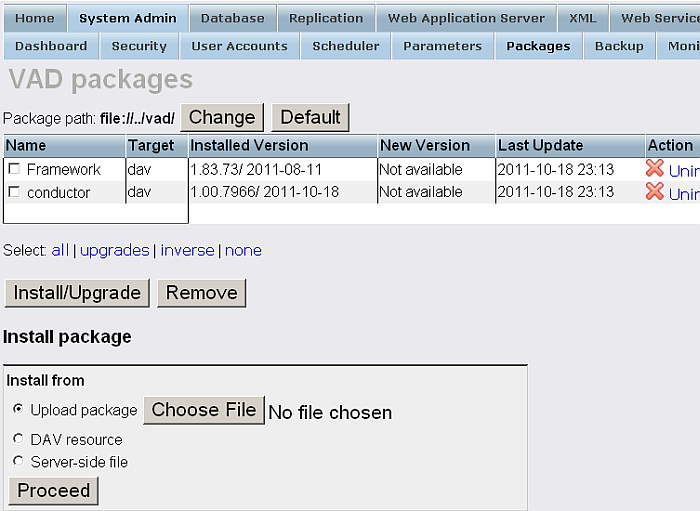
Go to Packages list and select Configure for ODS Framework.
Figure 17.12. Setting-Up issuer CA

-
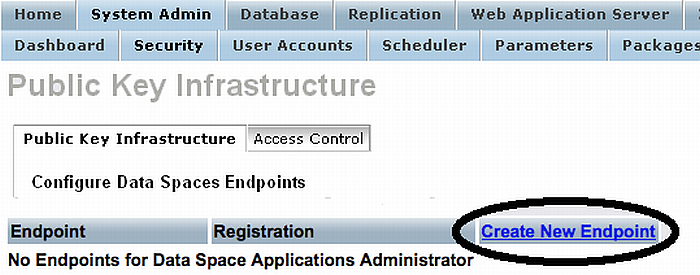
Select Create New Endpoint.
Figure 17.13. Setting-Up issuer CA
-
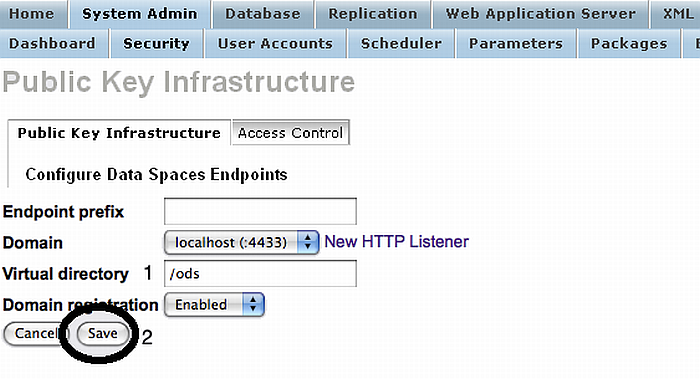
Enter the home path for ODS, and save.
Figure 17.14. Setting-Up issuer CA
-
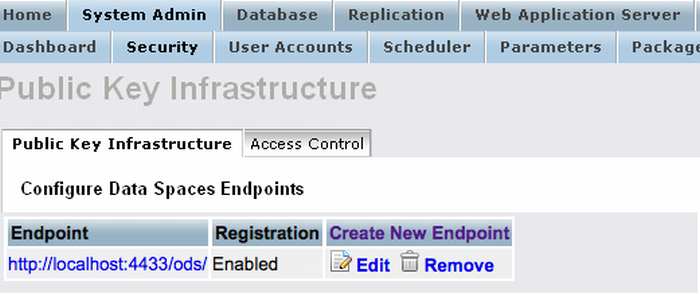
The new endpoint should now appear in the endpoint list.
Figure 17.15. Setting-Up issuer CA
-
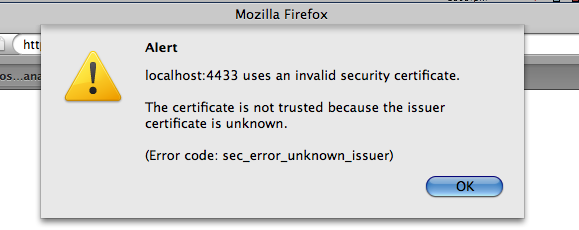
Go to the HTTPS site, e.g., https://cname:port/ods; in our example, https://localhost:4433/ods/. If Firefox is used, it will complain that the certificate is not valid, so we must register the site's certificate.
Figure 17.16. Setting-Up issuer CA
-
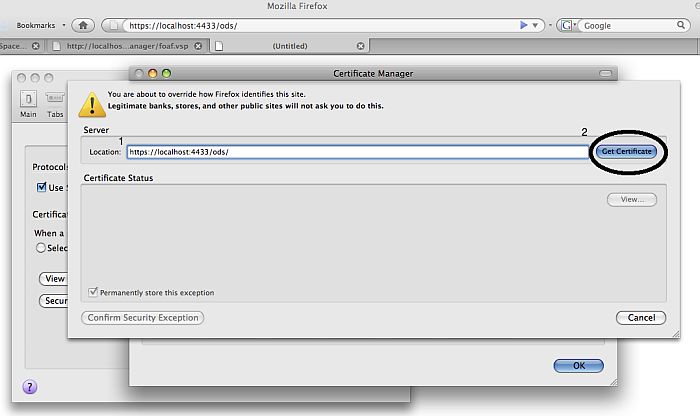
In Firefox certificate manager, in Site's certificates, add an exception.
Figure 17.17. Setting-Up issuer CA
-
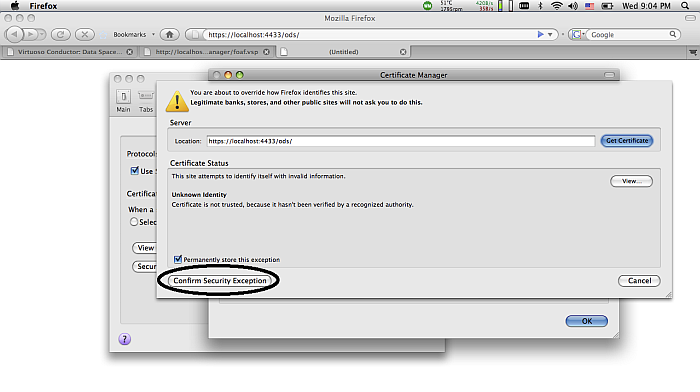
Confirm exception.
Figure 17.18. Setting-Up issuer CA
-
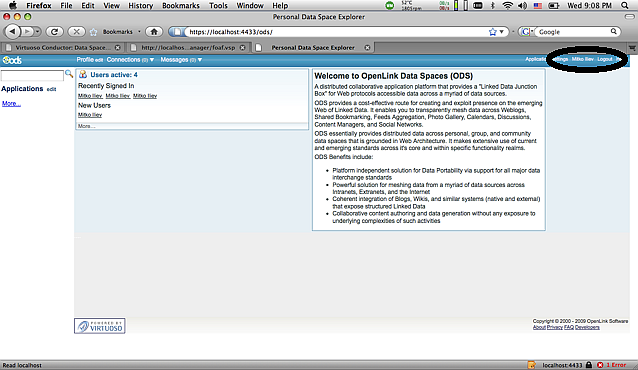
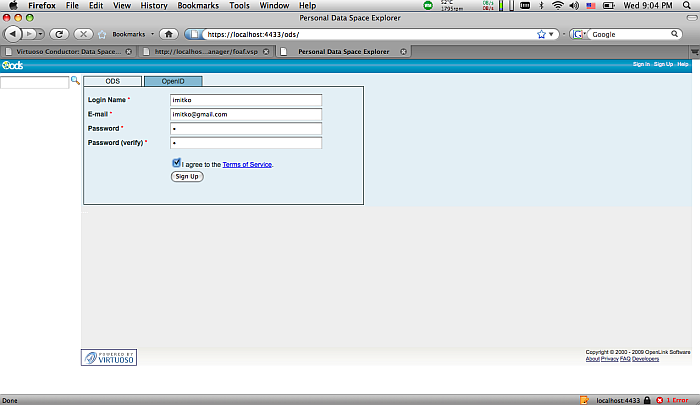
Return to ODS site, and register new user.
Figure 17.19. Setting-Up issuer CA
-
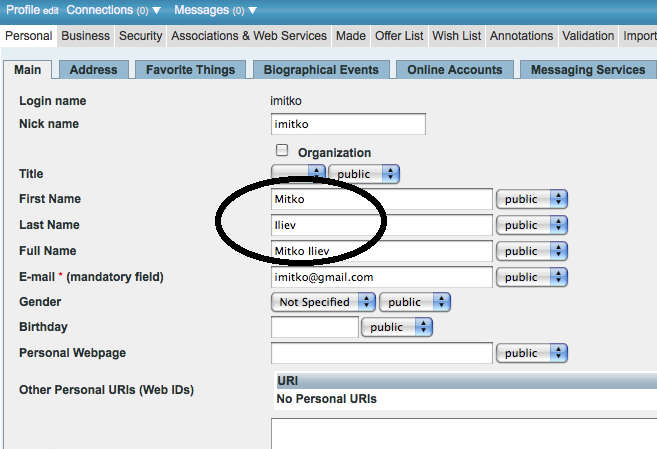
Edit the user's profile and enter his/her name(s). If this step is skipped, the certificate will not have a human readable name.
Figure 17.20. Setting-Up issuer CA
-
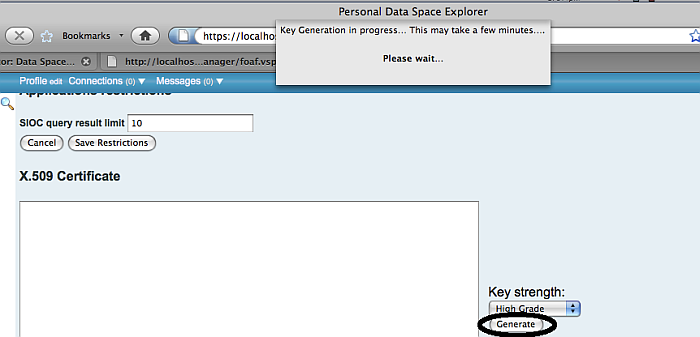
Open the Security tab in the Profile Editor, and generate the client key.
Figure 17.21. Setting-Up issuer CA
-
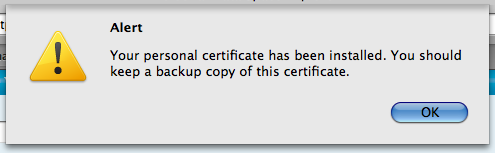
If all is set up correctly, you should see this message. It means Firefox has the private key, and has obtained a new certificate from the server.
Figure 17.22. Setting-Up issuer CA
-
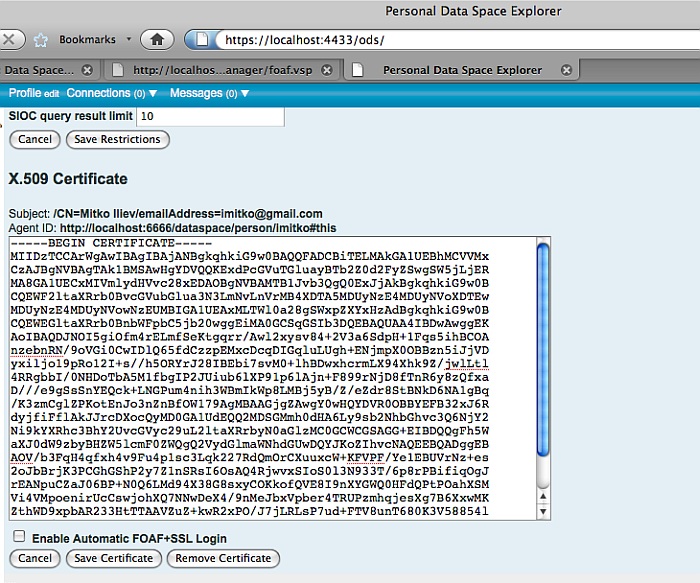
Refresh the Security tab by clicking on same tab.
Figure 17.23. Setting-Up issuer CA
-
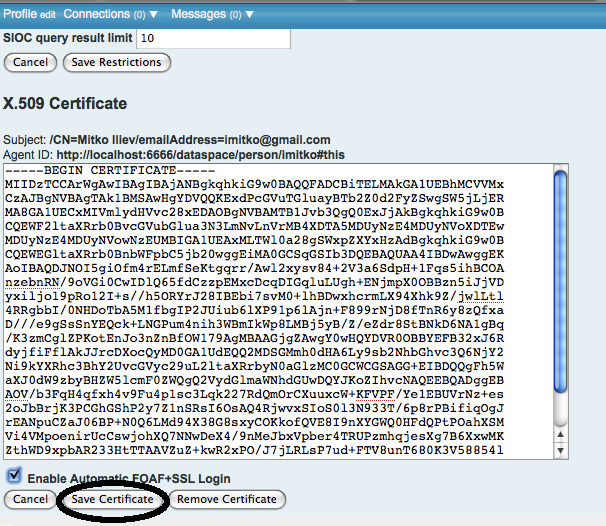
Select automatic login option, and save.
Figure 17.24. Setting-Up issuer CA
-
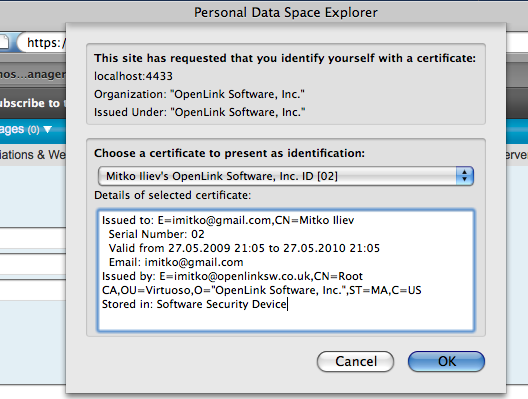
Log out from ODS and refresh browser to simulate opening the ODS site. The browser will ask for a certificate; select the one generated in the steps above.
Figure 17.25. Setting-Up issuer CA
-
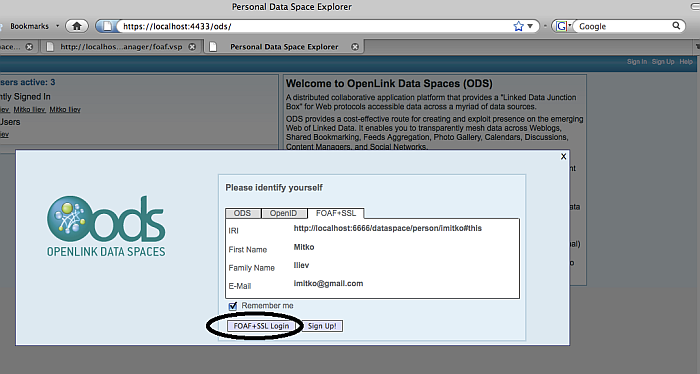
ODS presents your card, and asks to login with certificate. Confirm it.
Figure 17.26. Setting-Up issuer CA
-
You should now be logged in to ODS via WebID Protocol.
Figure 17.27. Setting-Up issuer CA