4.2.Windows (32-bit)
The OpenLink Single-Tier Driver for ODBC is distributed in a single zip file. Unzip the contents of the zip file to a temporary directory such as c:\temp\openlink_install.
Execute the installer program called setup.exe
Figure4.1.setup.exe

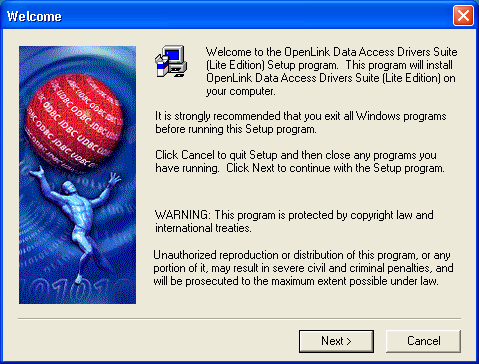
The installer will unpack and verify the contents of the installer files, and display a 'Welcome' message as follows. Press the 'Next >' button to continue.
Figure4.2.Welcome Screen
The next screen will display the License Agreement for installation and use of the OpenLink Lite Driver product. Please read this. If you agree, then press the 'Yes' button to continue the installation.
Figure4.3.Software License Agreement

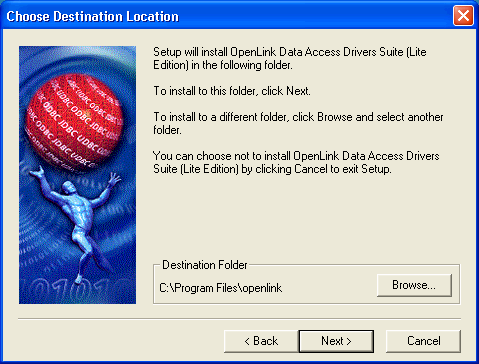
You will then be asked change the Destination Folder if the default location is not desired. Use the 'Browse' button and proceeding pop-up to navigate to the installation directory of your choosing. Press the 'Next>' button to continue.
Figure4.4.Choose Destination
The next screen allows you to choose the components and alter the sub-components that will be installed onto your computer.
By default all components will be installed. If you wish to alter the list either uncheck the check box or refine the sub-components by selecting the group and pressing the 'Change' which will take to you the sub-components selection screens (listed below).
When you are satisfied that you are installing the necessary components press the 'Next >' button to continue the installation.
Figure4.5.Select Components
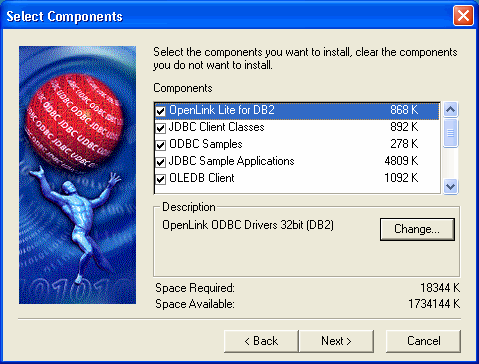
Figure4.6.Configurable JDBC Client Classes Sub-Components
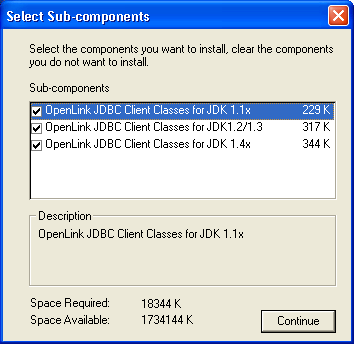
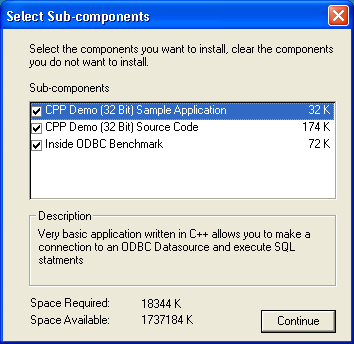
Figure4.7.Configurable ODBC Samples Sub-Components
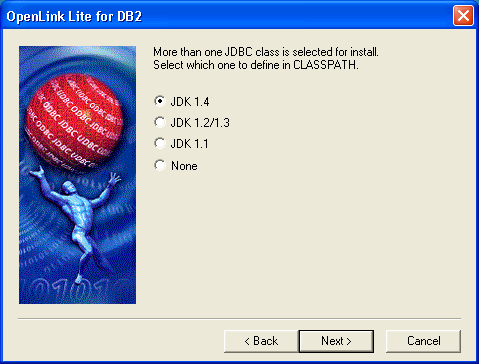
If JDBC Components have been selected, then you must choose which JDK environment to use. The installer will then make changes to the CLASSPATH so that the Java interpreter can find the OpenLink JDBC Driver.
Figure4.8.Choose JDK support
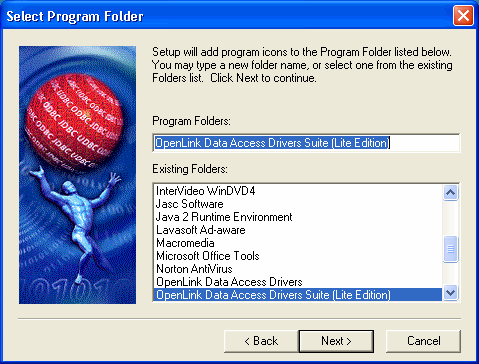
Change or accept the default name for the Program Folder name to be used in the 'Start' menu into which the installer will place shortcuts to components.
Figure4.9.Choose Program Folder
The final confirmation screen will appear. Press the '< Back' button to make changes or press the 'Next >' button to continue and start installing files to your computer.
Figure4.10.Start copying files...

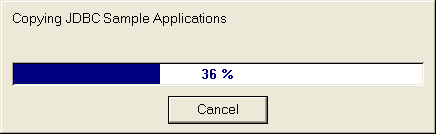
A progress indicator will follow the copying of the files.
Figure4.11.Copy of files
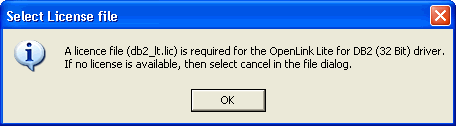
If a license file is not located in the required directory, you will be prompted for the location so that it may be copied into place.
Figure4.12.Get License
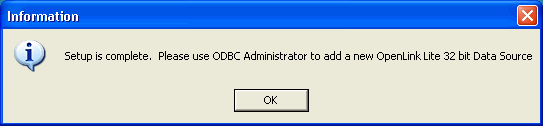
You are reminded to use the ODBC Administrator to configure a data source. Refer to the Windows Data Source Configuration Chapter for more information.
Figure4.13.Data Source Setup
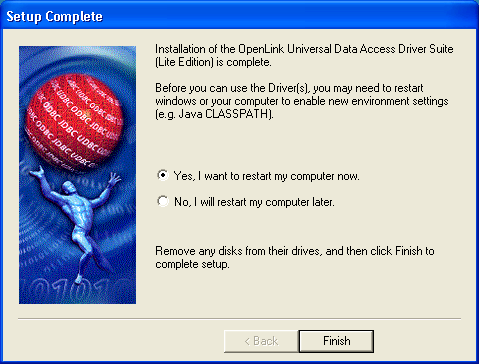
Finally you will be asked to restart your computer. This is recommended to make sure that locked files are replaced, and the environment is updated.
Figure4.14.Completion Screen
You have now successfully installed your copy of the OpenLink Universal Data Access Driver Suite (Lite Edition).