6.5.Mac OS X
OpenLink Software's server components are fully supported on Mac OS X. Users of Mac OS X 10.2.x ("Jaguar") and later may use the fully migrated GUI components; users of Mac OS X 10.1.5 and earlier must use the Darwin-based components (installation covered in the UNIX and Linux section, below).
As shipped from Apple, Mac OS X did not include any ODBC support until Jaguar. The ODBC Driver Manager, Data Source Administrator, etc. - all had to be delivered with the Drivers.
When Apple introduced Darwin, an Open-Source project meant to form the kernel of Mac OS X, OpenLink determined to port its open-source iODBC Driver Manager to the new platform. With the introduction of the Preview Release of Mac OS X, the traditional set of dynamic libraries was broadened to include a system of Frameworks to encourage the development of fully ODBC compliant, native Mac OS X drivers and client applications.
That set of Frameworks, along with the OpenLink ODBC Administrator (then known as the iODBC Administrator), has been included with all OpenLink installations for Mac OS X since 10.0. The OpenLink ODBC Administrator supports all core features of ODBC, and presents driver-specific DSN configuration panels, as defined by the Driver developer, through the use of Setup Libraries.
Jaguar's release marked Apple's recognition that Data Access was an important part of an Enterprise Operating System. Already part of the standard distribution of Darwin, the basic iODBC dynamic libraries are now a part of the standard installation of Mac OS X 10.2. Apple also included their own version of an ODBC Administrator, as a proof-of-concept. Apple's Administrator permits Driver Registration, Tracing, and all other core features of ODBC; however, among other hard edges, all DSN configuration must be done by manually entering Keyword-Value pairs. Further, the user must know what Keywords to use, along with their acceptable Values.
Each OpenLink Generic Multi-Tier Driver for ODBC for Mac OS X is distributed in a single disk image (.dmg) file, which contains a Macintosh Installer mpkg. You may download an installer for a single back-end DBMS, or a "kitchen-sink" installer containing components for all OpenLink supported DBMS.
The OpenLink ODBC Server Components for Mac OS X comprise the following:
Table6.1.OpenLink ODBC Server Components for Mac OS X
| Component | Purpose |
|---|---|
| Request Broker | The oplrqb executable Broker manages all Client connections, as instructed by the Rulebook, oplrqb.ini, and as restricted by the active License file(s), *.lic. Without an active Broker, no connection will be initiated. |
| Session Rules | Book The oplrqb.ini file holds all non-license parameters governing behavior of the Request Broker and Database Agents. This file may contain references to other subsidiary parameter files, which are incorporated into the active Rulebook at Broker launch. |
| OpenLink Database Agents | Any of a number of executables, named xxxx_sv or xxxx_mv, for single- and multi-threaded agents, respectively. xxxx is replaced by the OpenLink code for a given Database. For example, virt_mv is the OpenLink Virtuoso Database Agent (multi threaded). |
| Broker and Database Agent license files | File(s) containing software activation and license key for the Broker and Database agents. Primary license, for Request Broker, must be named oplrqb.lic; other licenses will all end in .lic, and will typically be named similarly to a specific database agent, e.g., jdbc13_mv.lic. |
| OpenLink HTTP and Tcl Engine | The www_sv executable is an HTTP (Web) Server, implemented as an OpenLink Service-Providing Agent. This component provides the core upon which the OpenLink Admin Assistant has been built. |
| HTTP and Tcl Engine configuration file | The www_sv.ini file contains most parameters relevant to the Admin Assistant's provision, most importantly including User Authentication information, including encoded passwords, for all authorized Administrators of the OpenLink components. |
| HTTP and Tcl Engine configuration program | The setup executable is automatically executed as part of the Installation process. Manual activation is only necessary if you have lost your Admin Assistant's primary Username and Password. |
| OpenLink ODBC Client Components | As specified in the Client configuration chapter. |
6.5.1.Installation
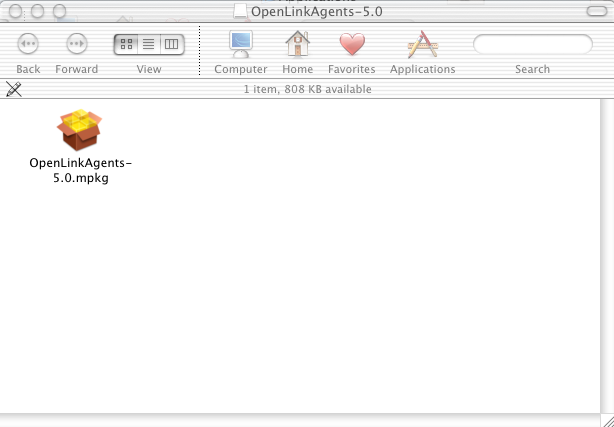
Double-click the mpkg to start the installation process.
Figure6.5.OpenLinkUDA-5.0.dmg
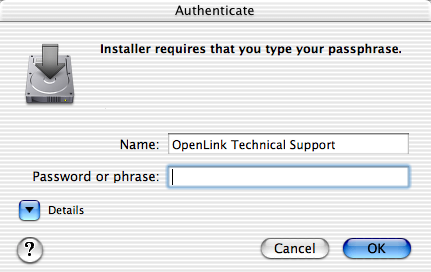
You must have an Administration username and password to install the OpenLink Generic Multi-Tier Driver for ODBC. The Jaguar Installer will immediately prompt you to enter your Mac OS X Username and Password.
Figure6.6.Authentication
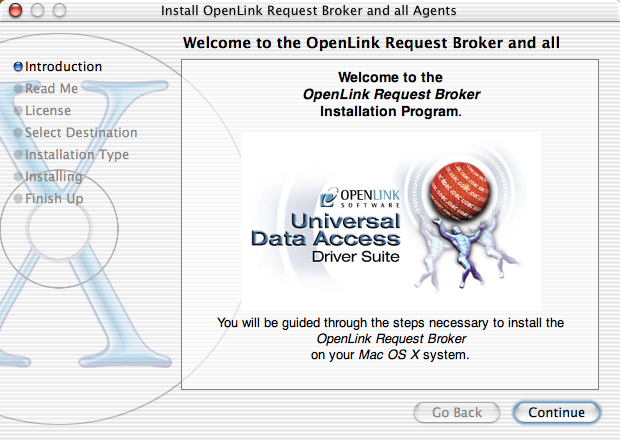
The installer will display a "Welcome" message. Click "Continue".
Figure6.7.Welcome
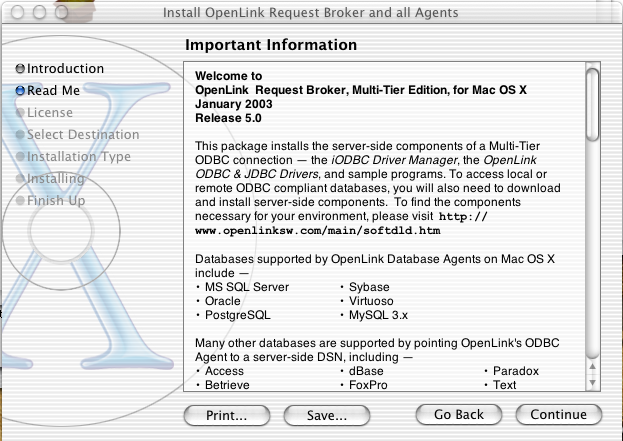
The next screen will display the Read-Me file, including any last-minute updates to these documents. Please read carefully, and click "Continue" when finished.
Figure6.8.Read Me
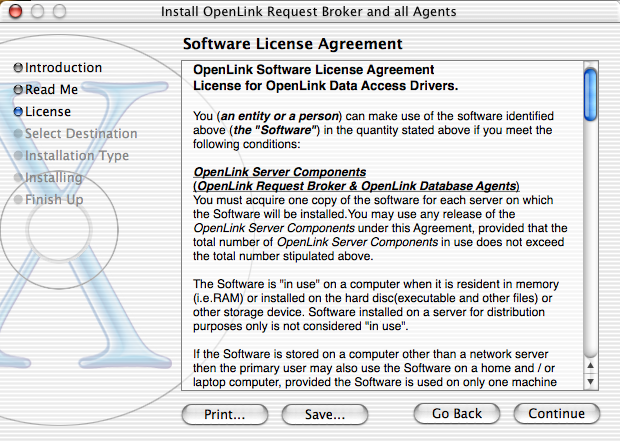
The next screen will display the License Agreement for the OpenLink Single-Tier Driver for ODBC. Please read, and click "Continue".
Figure6.9.Software License Agreement
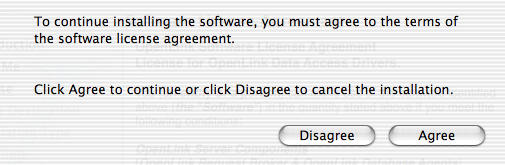
You will be prompted to "Agree" to continue the installation, or "Disagree" to abort.
Figure6.10.Agree or Disagree to Licensing
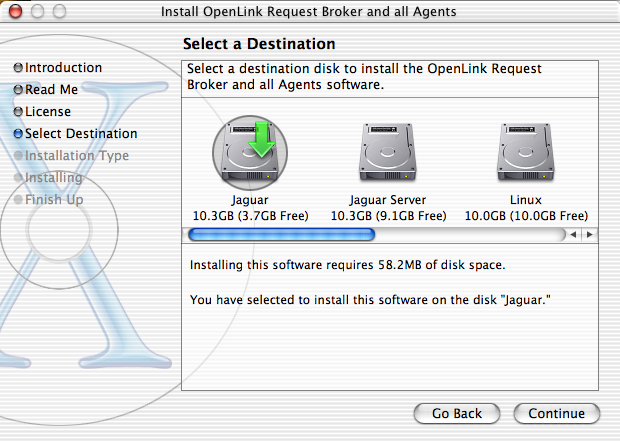
You will be asked to select a Destination Volume. Generally, this should be your Mac OS X boot volume. Click on the desired disk icon, and then click "Continue".
Figure6.11.Choose Destination
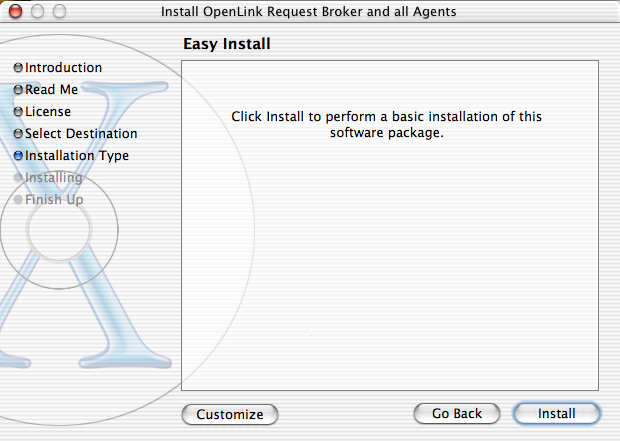
You may now choose the Easy Install, or if you are an experienced user, you may Customize which components are installed. OpenLink generally recommends the Easy Install.
If you have installed OpenLink or iODBC components in the past, click "Upgrade" to continue; otherwise, click "Install".
Figure6.12.Easy Install
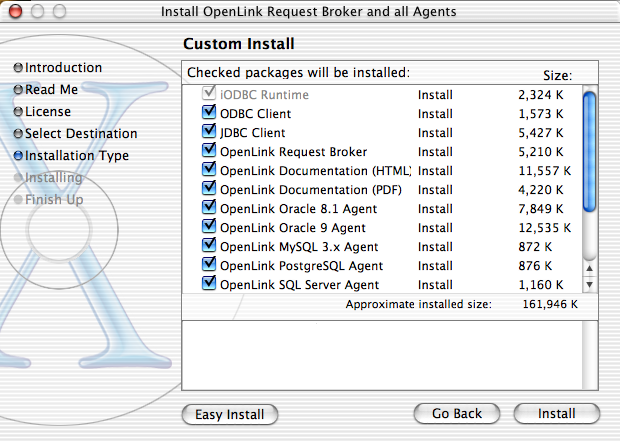
In a custom installation, you may choose which Client, Documentation, and Server components are installed. OpenLink recommends that all Servers be equipped with all Client components, and that you install at least the HTML documentation, which will then be available through the Admin Assistant. The iODBC Runtime is necessary for all Client connections, but you may choose not to install it, if you have already installed a later revision.
Figure6.13.Custom Install
You will be shown a graphical progress bar as Installation progresses, followed by System Optimization.
Figure6.14.Installation Progress

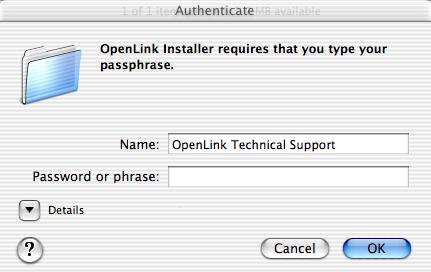
During the installation process, the Installer will prompt for some parameters. Only an Administrator may configure the Server components, and this authentication is independent of the Installer itself.
Figure6.15.Configuration Authentication
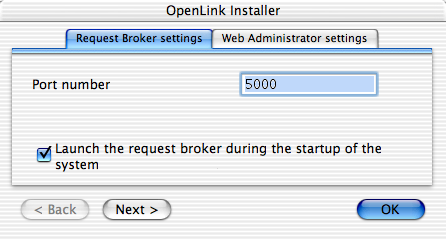
First, the Installer will configure the Request Broker `Listener` port. By default, this is 5000, but you may set it to anything appropriate to your environment. Note that all Client DSNs must target the port specified herein.
If you check off the box labeled Automatically launch the request broker during system startup, a StartupItem will be installed and enabled, to automatically start the Broker at system boot. If you do not check this box, the Broker must be manually launched to permit data access.
Figure6.16.Initial configuration, Request Broker tab
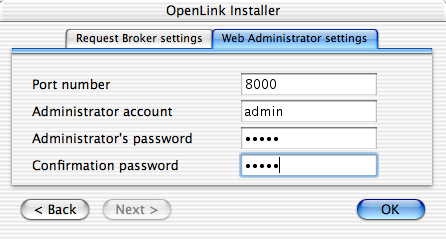
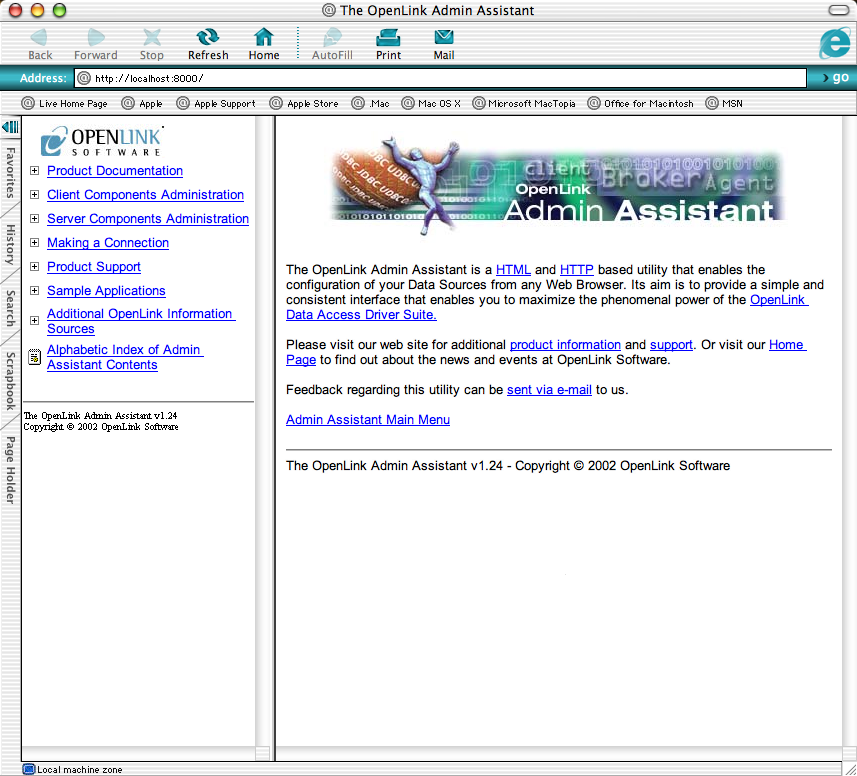
The next pane is to configure the HTTP-based OpenLink Administrator. By default, this service will listen at port 8000, but you may set it to any port appropriate to your environment. This port will be specified in Web browsers, to access the Admin Assistant, as in the URL, <http://localhost:8000/>.
Figure6.17.Initial configuration, Web Administrator tab
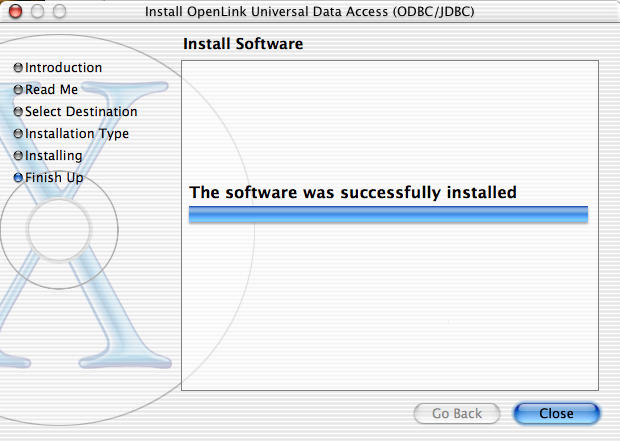
When the process is complete, you will be told that the software was successfully installed. Click "Close" and wait a few moments, while the Request Broker is launched in the background.
Figure6.18.Installation Completes
Installation is complete, and your Broker is available for use, when a new Web browser window is opened, connecting to the newly installed Broker's Admin Assistant.
Figure6.19.Admin Assistant Browser Window
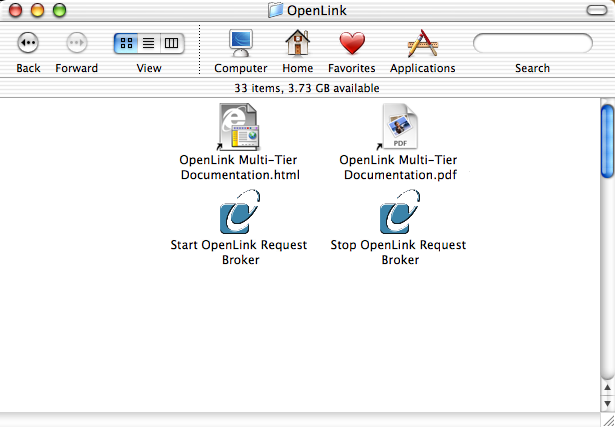
A new Finder window will also be opened, containing launch icons for the documentation you've installed (HTML and/or PDF), as well as manual Start and Stop scripts for the Request Broker.
Figure6.20.Finder Window
Proceed to the next chapter, to learn how to configure your new software.