2.4.2. Virtuoso Drag and Drop Installer for Mac OS X
Note : Virtuoso 7 and its Drag-and-Drop Installer for Mac OS X require Lion (10.7.x), Mountain Lion (10.8.x), Mavericks (10.9.x), or later. Virtuoso 6 remains available for deployment on Leopard (10.5.x) or Snow Leopard (10.6.x).
-
Download and double-click on the Virtuoso installer disk image,
mwvp2zzz.dmg
, to start the installation.
Figure 2.17. Mac OS X installer: Start installation

-
Drag the Virtuoso application icon to your Applications folder (recommended) or any preferred location on your Mac.
Figure 2.18. Mac OS X installer: Drag Virtuoso Application
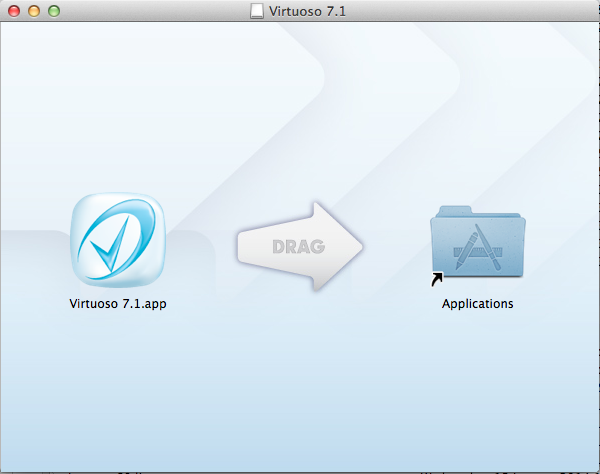
-
Double-click the Virtuoso application (e.g., Virtuoso 7.1.app) to launch the Virtuoso Application Manager Menu Extra, which will display as a V symbol in the menu bar.
Figure 2.19. Mac OS X installer: Drag Virtuoso Application

-
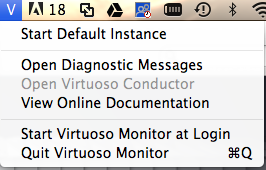
Select
Start Default Instance
from the
V
menu.
Figure 2.20. Mac OS X installer: Drag Virtuoso Application
-
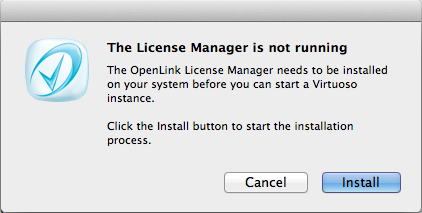
If this is a first time installation of OpenLink components, a dialog will be prompt you to install the OpenLink License Manager.
Figure 2.21. Mac OS X installer: Drag Virtuoso Application
-
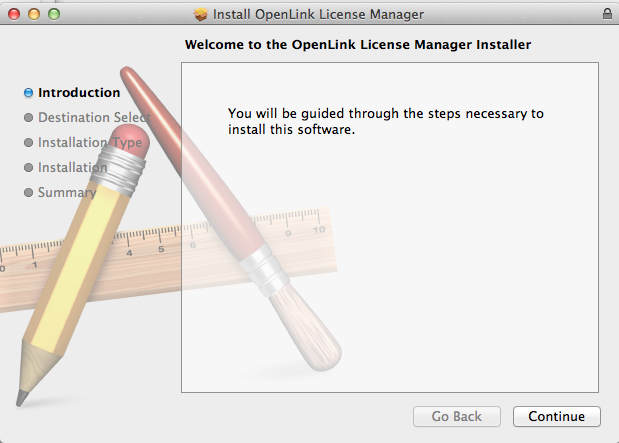
Click the
Continue
button to start the installation.
Figure 2.22. Mac OS X installer: Drag Virtuoso Application
-
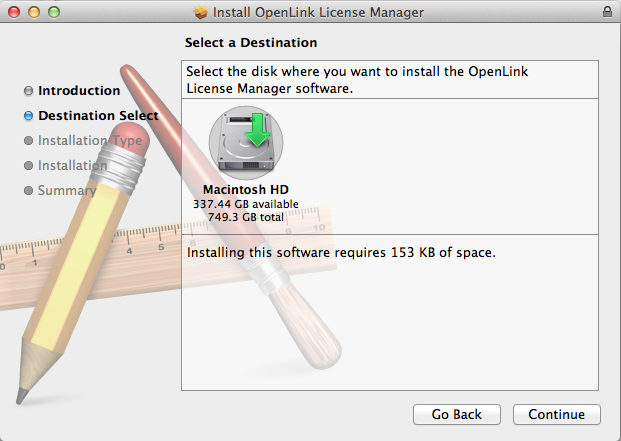
Select the disk the installation should be performed on.
Figure 2.23. Mac OS X installer: Drag Virtuoso Application
-
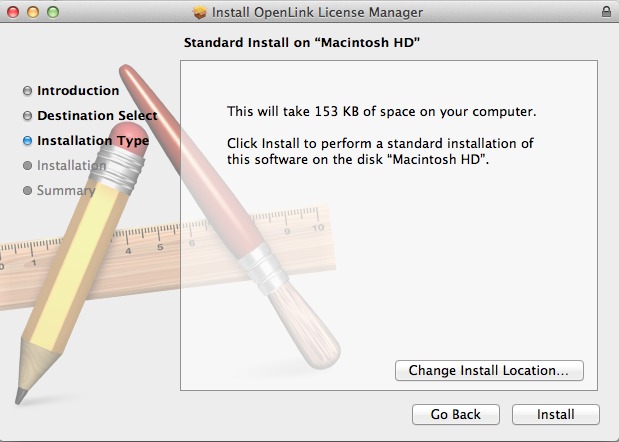
Click
Install
to commence the installation of the License Manager components.
Figure 2.24. Mac OS X installer: Drag Virtuoso Application
-
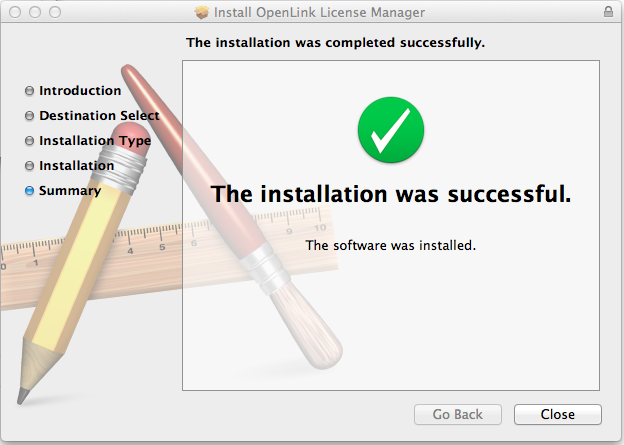
The following dialog will be displayed to confirm successful installation of the License Manager, which will be automatically started and ready for use upon installation.
Figure 2.25. Mac OS X installer: Drag Virtuoso Application
-
-
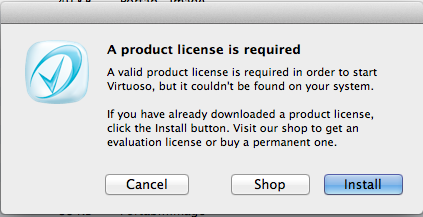
If a license file is not already in place, you will be prompted to locate an available license file or to purchase one for installation. Click the Install button to install the license file of your choice.
Figure 2.26. Mac OS X installer: Drag Virtuoso Application
-
Navigate to the location of the license file to be installed, and click the
Open
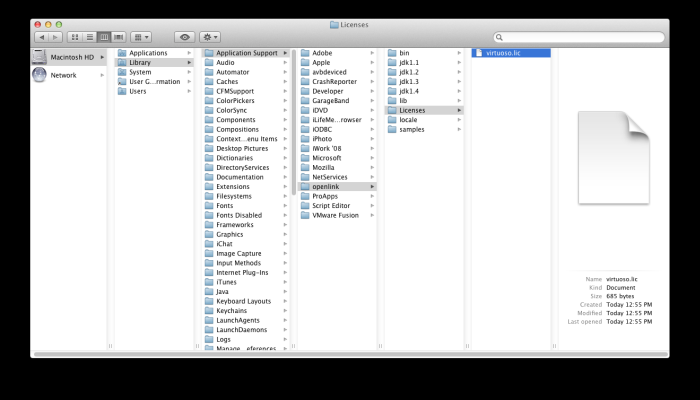
button. The installer will move it into the
/Library/Application Support/openlink/Licenses/
folder.
Figure 2.27. Mac OS X installer: Drag Virtuoso Application
-
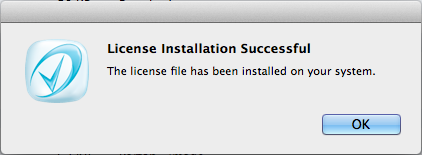
A dialog confirming the successful installation of the license file will be displayed.
Figure 2.28. Mac OS X installer: Drag Virtuoso Application
-
-
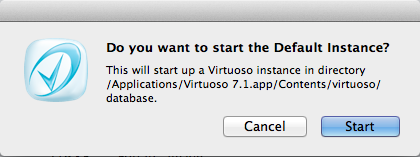
The Default database instance can now be started by clicking the
Start
button.
Figure 2.29. Mac OS X installer: Drag Virtuoso Application
-
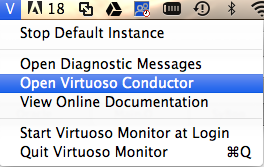
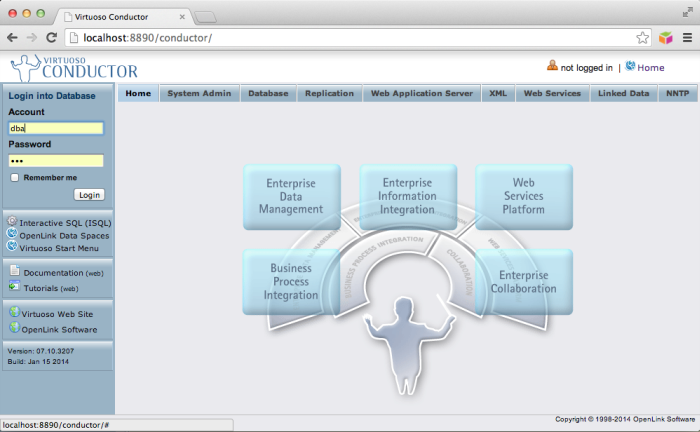
The Virtuoso server is now ready for use, and the browser-based Virtuoso Conductor administration interface may be accessed by selecting
Open Virtuoso Conductor
from the
V
menu.
Figure 2.30. Mac OS X installer: Drag Virtuoso Application
-
The Virtuoso Conductor may also be accessed by manually loading the URL <http://example.com/conductor> (or <http://full-hostname.example.com:8890/conductor> from a remote host) into any web browser.
Figure 2.31. Mac OS X installer: Drag Virtuoso Application
Troubleshooting
Many issues may be quickly diagnosed and resolved by reviewing Virtuoso's .log
file,
typically located alongside the active .db
file.
Figure 2.32. Mac OS X installer: Troubleshooting
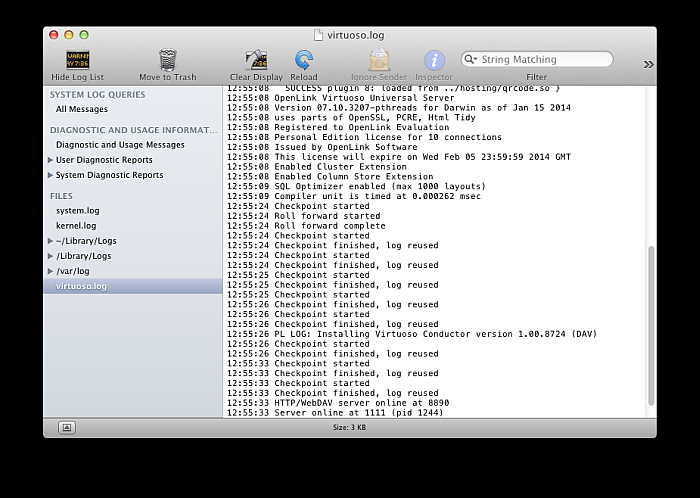
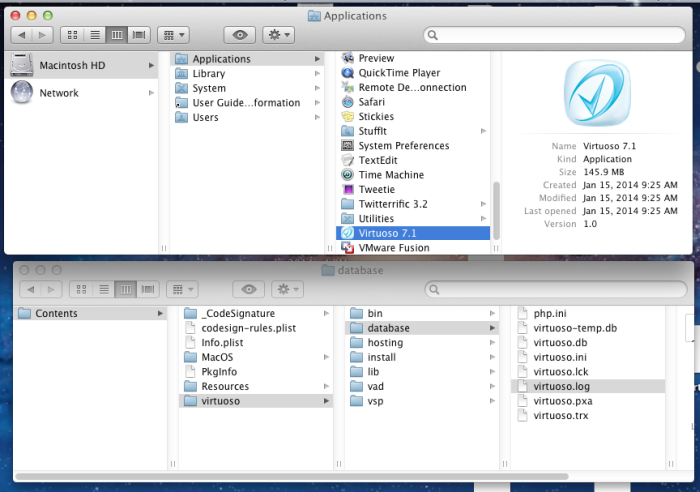
The default instance log file may be opened in Mac OS X's Console.app by:
-
selecting
Open Diagnostic Messages
from the
V
menu
-
right-clicking on the
Virtuoso 7.1.app
icon, select
View Package Contents
, and then drilling down to
Contents -> virtuoso -> database -> virtuoso.log
Figure 2.33. Mac OS X installer: Troubleshooting
-
executing the following command in
Terminal.app
:
open /Applications/Virtuoso\ 7.1.app/Contents/virtuoso/database/virtuoso.log
Missing license file
Make sure that the license file, always named virtuoso.lic
is in the correct
location, as described above -- /Library/Application Support/openlink/Licenses/.
Restarting the License Manager may be necessary. Rebooting should always result in a running License Manager, but you can also use the Terminal.app :
cd /Library/Application\ Support/openlink/bin
./oplmgr -fd /Library/Application\ Support/openlink/Licenses
Expired license file
Acquire a non-expired license file, by purchase or conversation with Technical Support or your Account Manager, and replace the expired file with the non-expired, as documented .
Cannot contact the License Manager
Rebooting should always result in a running License Manager. You can use Terminal.app to check whether it's running:
ps -ef | grep oplmgr | grep -v grep
If no process is listed, these two commands should get it running:
cd /Library/Application\ Support/openlink/bin
./oplmgr -fd ../Licenses
If the process is listed, there are many possible causes, including firewall or other networking issues. Please allow our Support Team to assist you in diagnosis and resolution.
