8.5.4. Creating EDM in Visual Studio 2008
The following steps can be used to create an Entity Data Model (EDM) for the Informix stores_demo database:
-
Launch the Visual Studio 2008 SP1 IDE.
Figure 8.227. Visual Studio 2008 SP1 IDE

-
Create a
Web Application
project by going to the
File
menu in Visual Studio and choosing
New Project
.
Figure 8.228. Web Application

-
When the New Project window appears, choose either
Visual Basic
or
Visual C#
as your programming language.
-
Within the language category, click on
Web
and select
ASP.NET Web Application
from the right-hand panel.
-
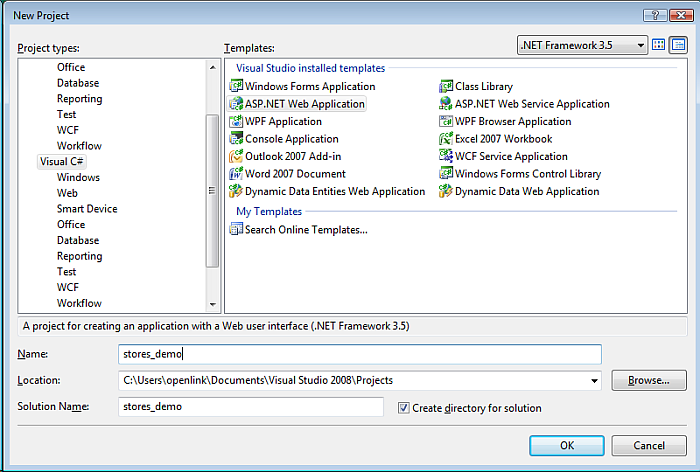
Choose a name for the project, for example
stores_demo
, and click
OK
.
Figure 8.229. name for the project
-
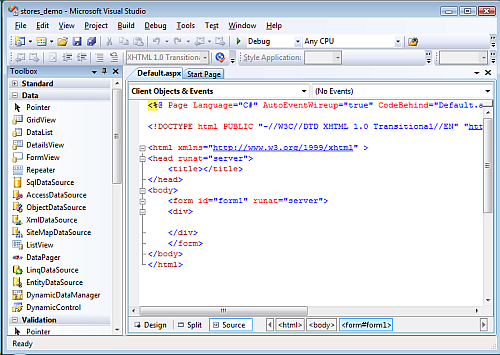
This will create a new project called
stores_demo
.
Figure 8.230. create a new project
-
Select the Project -> Add New Item menu option.
Figure 8.231. New Item

-
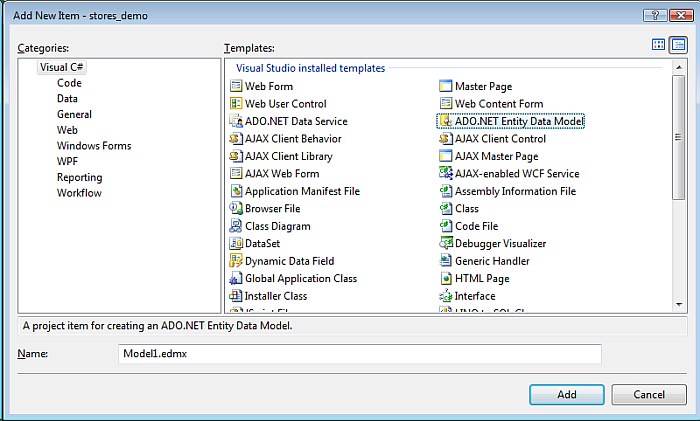
The
Add New Item
dialog will appear. Choose the
ADO.NET Entity Data Model
template. Give it the name
Model1.edmx
e and click
Add
to start the creation of the ADO.Net Entity Data Model.
Figure 8.232. Add New Item
-
In the
Entity Data Model Wizard
dialog
Choose Model Contents
page select the
Generate from Database
model type and click
Next
.
Figure 8.233. Choose Model Contents

-
In the
Entity Data Model Wizard
dialog
Choose your Data Connection
page, select the
New Connection button
Figure 8.234. Entity Data Model Wizard

-
In the
Choose Data Source
dialog, select the OpenLink
Virtuoso Data Source
from the list and click
Continue
.
Figure 8.235. Choose Data Source

-
In the
Add Connection
dialog, specify the
hostname, portno, username and password
for the target Virtuoso Server and check the Save Password check box.
Figure 8.236. Connection Properties

-
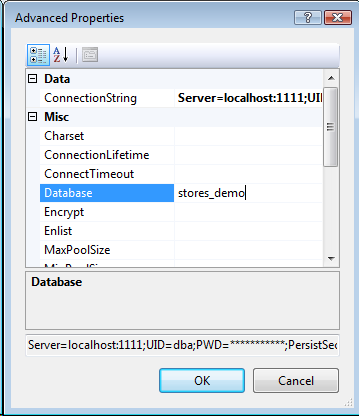
Select the
Select Database From List
radio button and choose the
stores_demo
database from the drop down list.
Figure 8.237. Add connection
-
Press the
Test Connection
dialog to verify that the database is accessible.
Figure 8.238. Test Connection

-
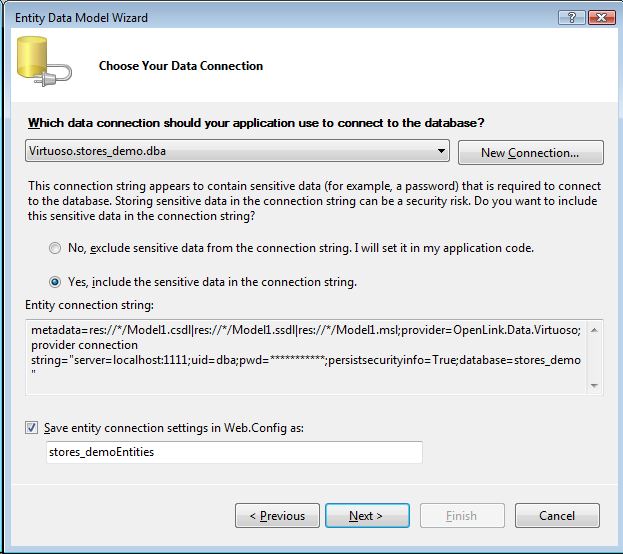
Set the
entity connect string
name to
stores_demoEntities
(note this name as it is required in the section on creating and ADO.Net Data Service) and click
Next
.
Figure 8.239. entity connect string
-
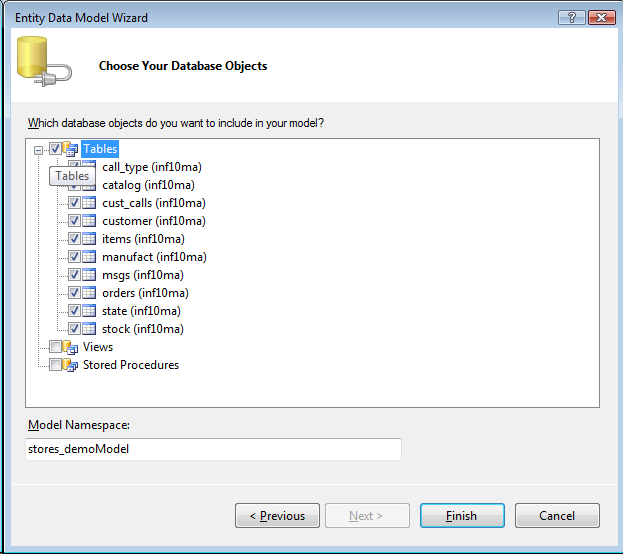
In the
Choose your Database Objects
page tick the
Tables
check box to select all tables in the stores_demo catalog for addition to the Entity Data Model. Set the
Model Namespace
to
stores_demoModel
and click
Finish
.
Figure 8.240. Database Objects
-
The
Model1.edmx
EDM will be created with the tables and relationships displayed in the Visual Studio IDE
Figure 8.241. Virtuoso.edmx
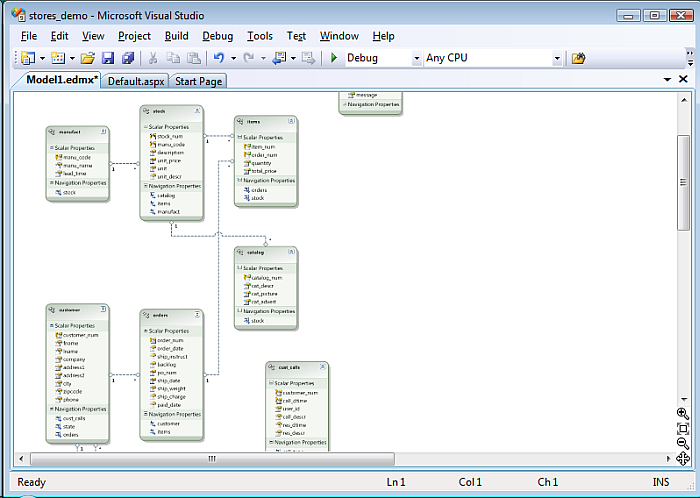
Creation for the Entity Data Model for the Informix stores_demo database is now complete.