8.13.4. Creating EDM in Visual Studio 2008
The following steps can be used to create an Entity Data Model (EDM) for the Microsoft SQL Server Northwind database:
-
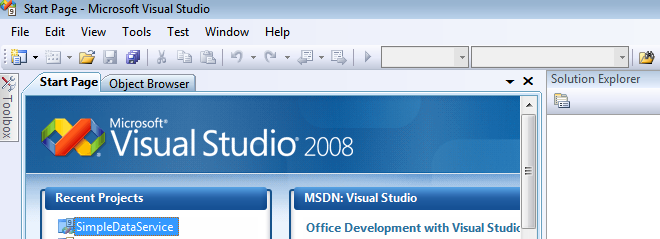
Launch the Visual Studio 2008 SP1 IDE.
Figure 8.661. Visual Studio 2008 SP1 IDE
-
Create a
Web Application
project by going to the
File
menu in Visual Studio and choosing
New Project
.
-
When the New Project window appears, choose either
Visual Basic
or
Visual C#
as your programming language.
-
Within the language category, click on
Web
and select
ASP.NET Web Application
from the right-hand panel.
-
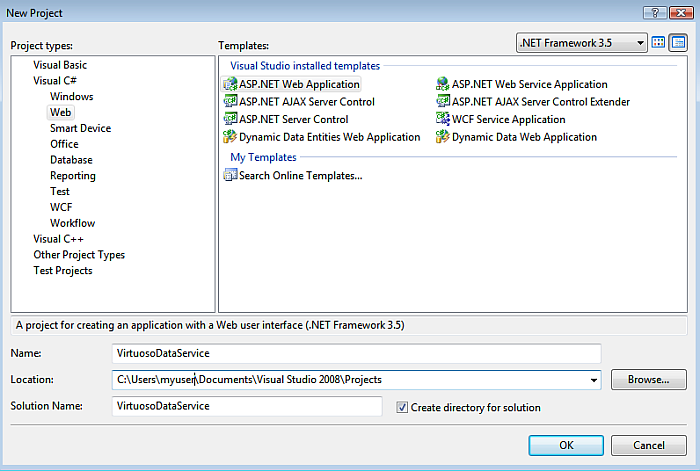
Choose a name for the project, for example
VirtuosoDataService
, and click
OK
.
Figure 8.662. name for the project
-
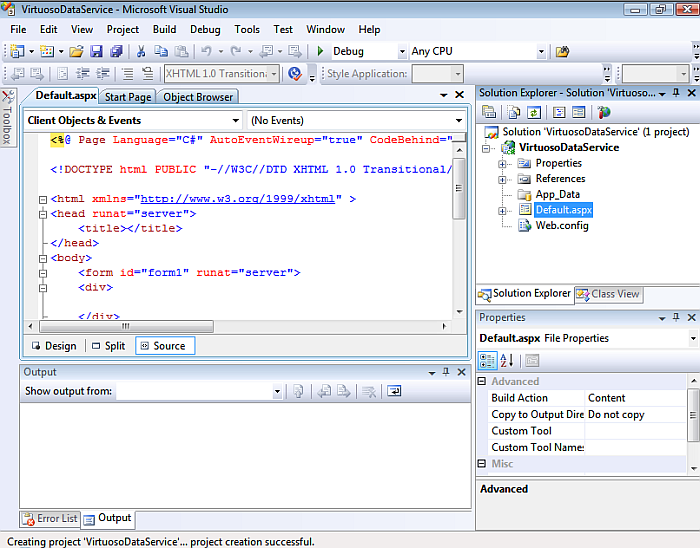
This will create a new project called
VirtuosoDataService
.
Figure 8.663. create a new project
-
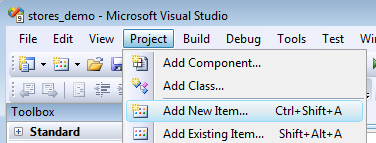
Right click on the VirtuosoDataService project name of the Solution Explorer pane, then select the Add -> New Item menu options.
Figure 8.664. VirtuosoDataService
-
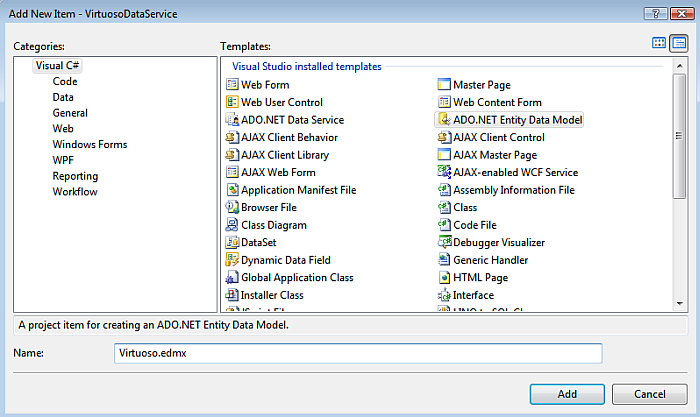
The
Add New Item
dialog will appear. Choose the
ADO.NET Entity Data Model
template. Give it the name
Virtuoso.edmx
and click
Add
to start the creation of the ADO.Net Entity Data Model.
Figure 8.665. Add New Item
-
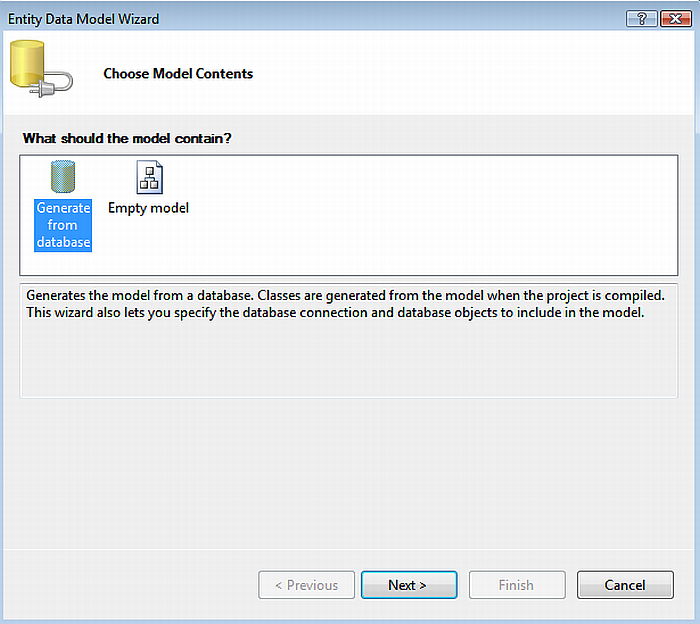
In the
Entity Data Model Wizard
dialog
Choose Model Contents
page select the
Generate from Database
model type and click
Next
.
Figure 8.666. Choose Model Contents
-
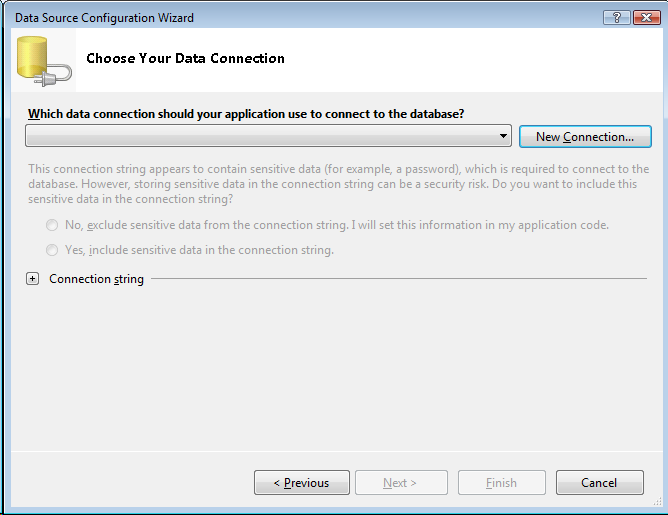
In the
Entity Data Model Wizard
dialog
Choose your Data Connection
page, select the
New Connection button
Figure 8.667. Entity Data Model Wizard
-
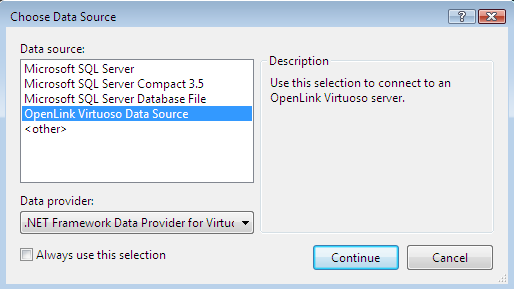
In the
Choose Data Source
dialog, select the OpenLink
Virtuoso Data Source
from the list and click
Continue
.
Figure 8.668. Choose Data Source
-
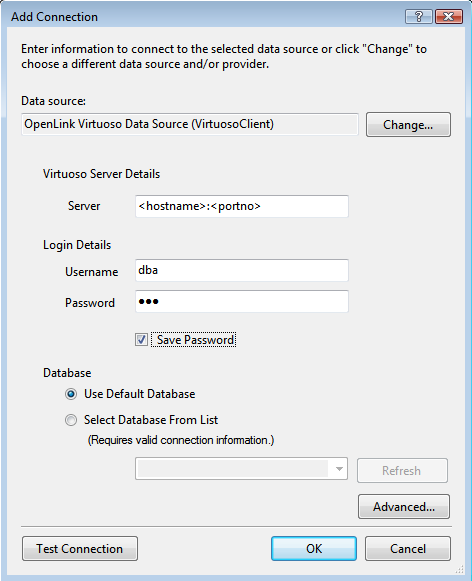
In the
Add Connection
dialog, specify the
hostname, portno, username and password
for the target Virtuoso Server and click the Advanced button.
Figure 8.669. Connection Properties
-
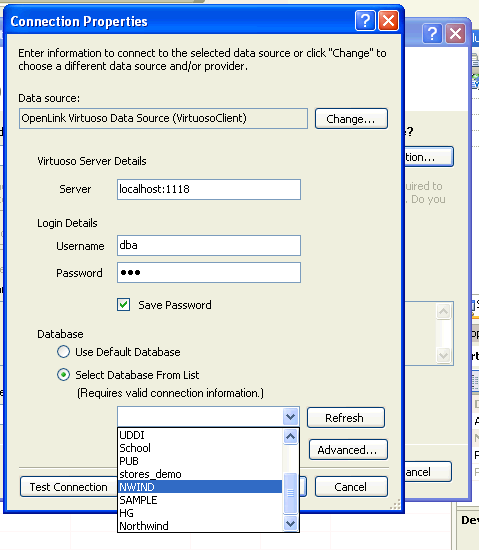
Use the Select Database From List dialog to select the NWIND catalog.
Figure 8.670. Add connection
-
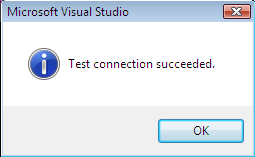
Press the
Test Connection
dialog to verify that the database is accessible. Click "OK" to persist the connection attributes, after a successful connection is verified.
Figure 8.671. Test Connection
-
Set the
entity connect string
name to
VirtuosoEntities
(note this name as it is required in the section on creating and ADO.Net Data Service) and click
Next
.
Figure 8.672. entity connect string

-
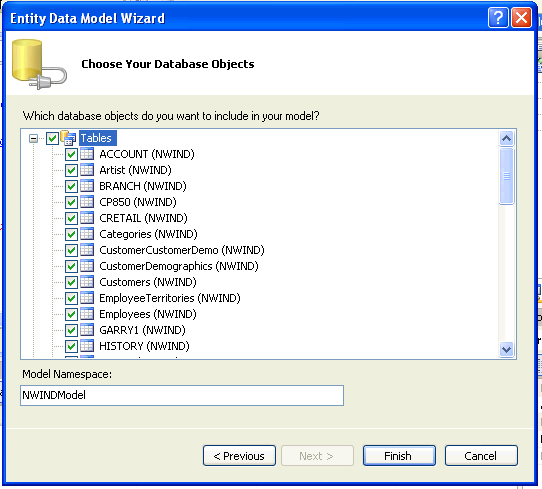
In the
Choose your Database Objects
page select the
Tables
check box to select all tables in the NWIND catalog for addition to the Entity Data Model. Set the
Model Namespace
to
VirtuosoModel
and click
Finish
.
Figure 8.673. Database Objects
-
The
Virtuoso.edmx
EDM will be created with the tables and relationships displayed in the Visual Studio IDE
Figure 8.674. Virtuoso.edmx
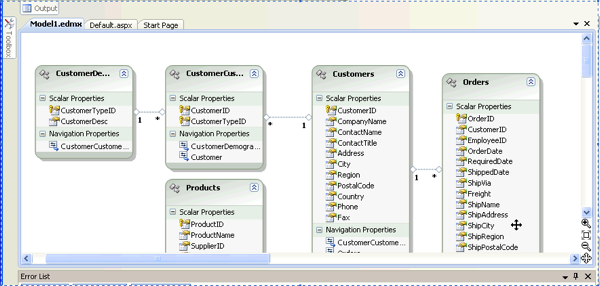
Creation for the Entity Data Model for the Microsoft SQL Server Northwind database is now complete.