7.1.2. Installation & Configuration
There are two installation types to consider:
-
If you have an existing Virtuoso instance, or will install Virtuoso on a different host, you only need to install of the ADO.Net Provider Client on the Visual Studio host.
-
If you have no existing Virtuoso instance, you can install both the ADO.Net Provider Client and the Virtuoso Universal Server on the Visual Studio host.
Installation of the ADO.Net Provider Client on Windows
The Virtuoso ADO.Net Provider is part of the Virtuoso Client Connectivity Kit installer, and if the target Virtuoso Server installation already exists on the network this is the only component that needs to be installed.
-
Download and run the Virtuoso Client Connectivity Kit installer for your target Windows OS:
-
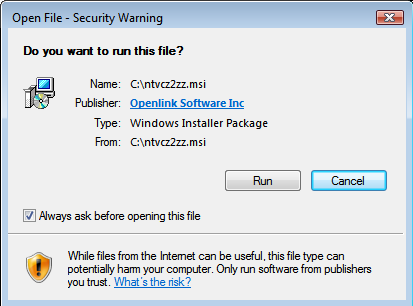
Choose the "run" button to allow the signed "Virtuoso Client Connectivity kit" installer to start.
Figure 7.1. Run
-
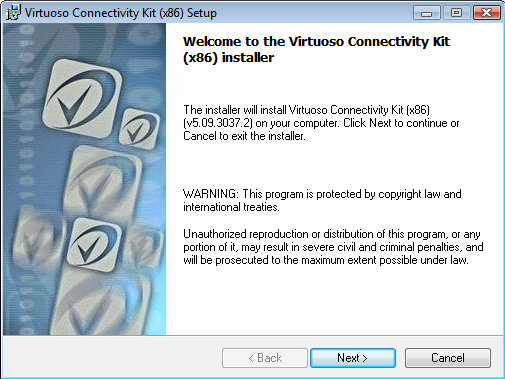
Choose the "Next" button to begin the installation process.
Figure 7.2. Installation: Next
-
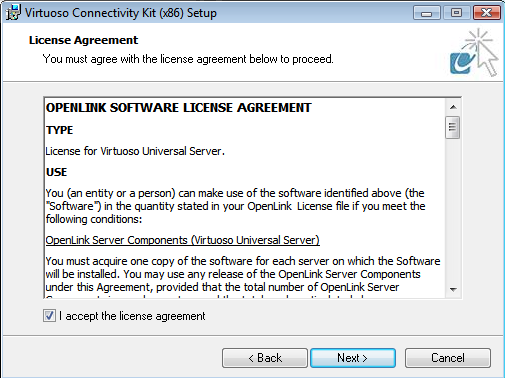
Check the "I agree with license agreement" checkbox and choose the "Next" button.
Figure 7.3. Installation: Agree license
-
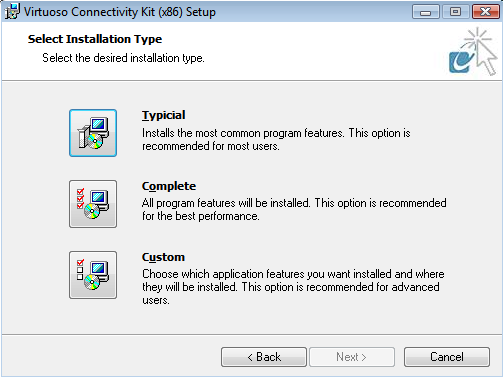
Choose the "Custom" option to manually select what components are installed and in which location, or choose the "Typical" or "Complete" options as recommended and skip to step 7.
Figure 7.4. Custom Install
-
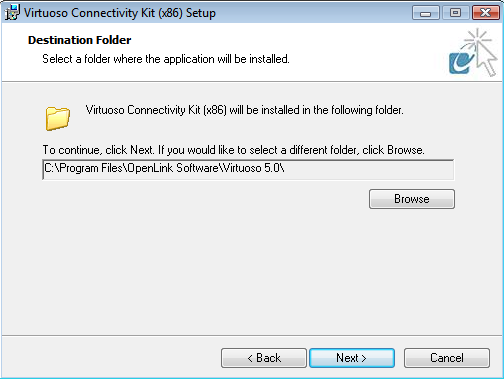
If the "Custom" option what chosen, select the installation directory or leave default and choose the "Next" button to continue.
Figure 7.5. Installation
-
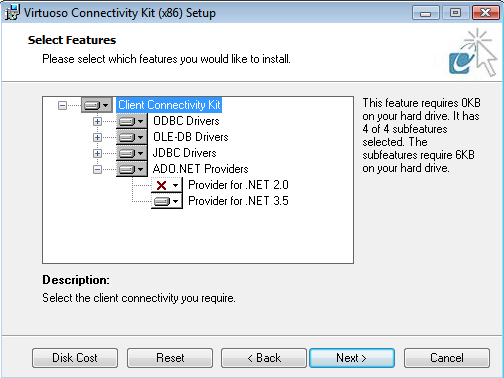
Select which of the ADO.NET Providers are to be installed and choose "Next" to continue.
Figure 7.6. ADO.NET Providers
-
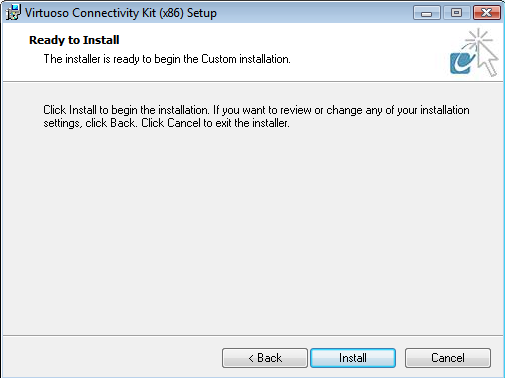
The installer is now ready to begin the installation, choose the "Install" button to commence the process.
Figure 7.7. Install
-
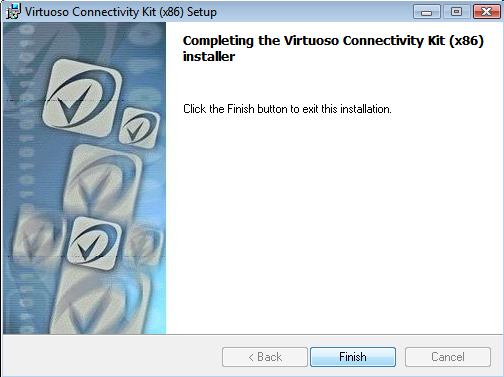
The installation was successfully completed.
Figure 7.8. Completed installation
-
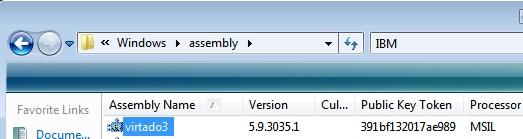
The installation of the Provider can be verified by checking the %WINDOWS%\assembly folder and checking that the Provider(s) chosen for installation is(are) listed - "virtado3" and/or "virtado2".
Figure 7.9. Provider
The installation of the ADO.Net Provider Client is complete.
Uninstallation
-
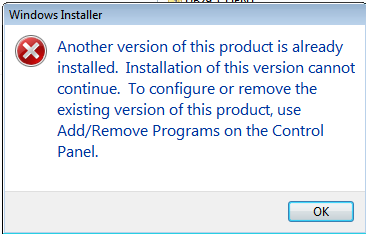
If you attempt to run the installer again, the following message will be displayed.
Figure 7.10. Installer message
-
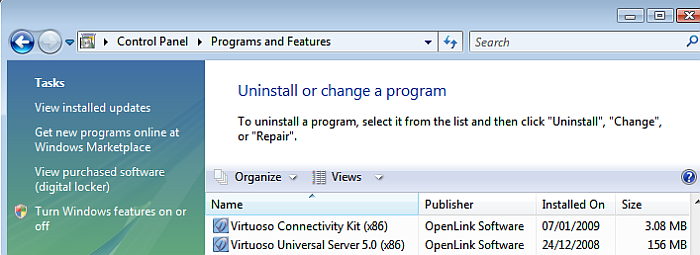
The Provider can be uninstalled from the "Control Panel" -> "Programs and Features" menu, by selecting the "Virtuoso Client Connectivity kit" from the list of installed components and clicking the "unistall" option presented.
Figure 7.11. Uninstall
-
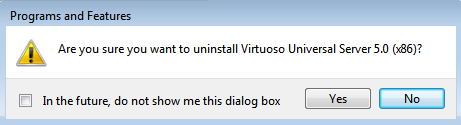
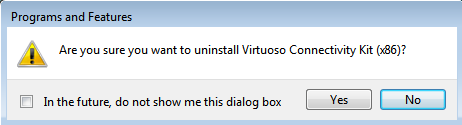
Choose "Yes" to uninstall the Virtuoso ADO.Net Provider.
Figure 7.12. Uninstall
Installation of the ADO.Net Provider Client and Virtuoso Universal Server on Windows
If both the ADO.Net Provider client and Virtuoso Server are to be installed on the same Windows machine, then the Virtuoso Universal Server installer can be used as it includes all the Virtuoso client and server components available in a single installer. An instance in which this particular installation type is require would be when using the Provider to provide Entity Framework connectivity to the remote database schema objects.
-
Download and run the Virtuoso Universal Server installer for your target Windows OS:
-
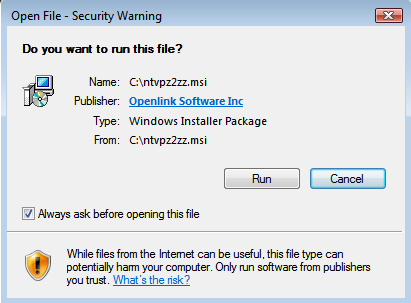
Choose the "run" button to allow the signed "Virtuoso Universal Server" installer to start.
Figure 7.13. Run
-
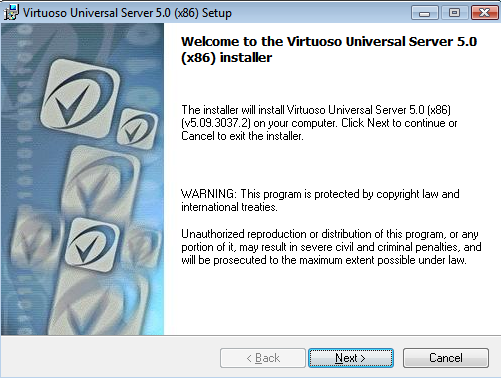
Choose the "Next" button to begin the installation process.
Figure 7.14. Next
-
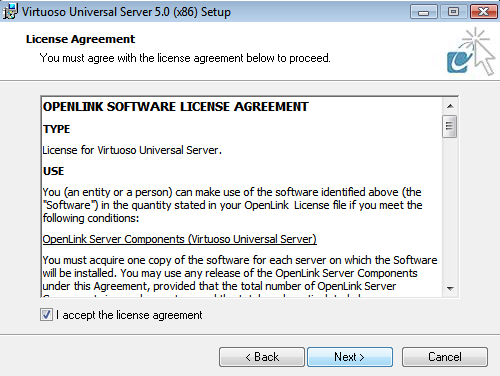
Check the "I agree with license agreement" checkbox and choose the "Next" button.
Figure 7.15. Agree license
-
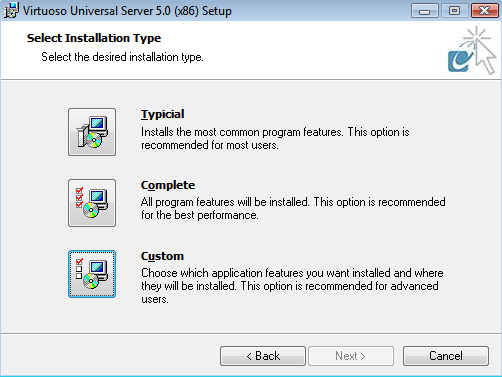
Choose the "Custom" option to manually select what components are installed and in which location, or choose the "Typical" or "Complete" options as recommended and skip to step 7.
Figure 7.16. Custom option
-
If the "Custom" option what chosen, select the installation directory or leave default and choose the "Next" button to continue.
Figure 7.17. Installation directory
-
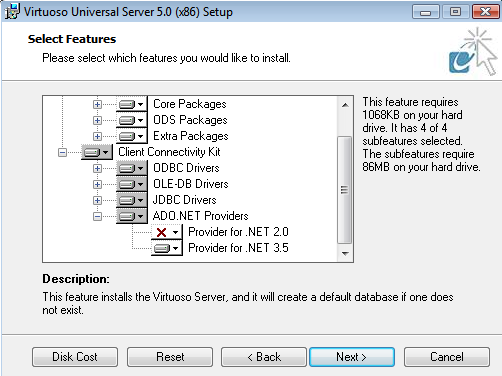
Select which of the ADO.NET Providers are to be installed and choose "Next" to continue.
Figure 7.18. ADO.NET Providers
-
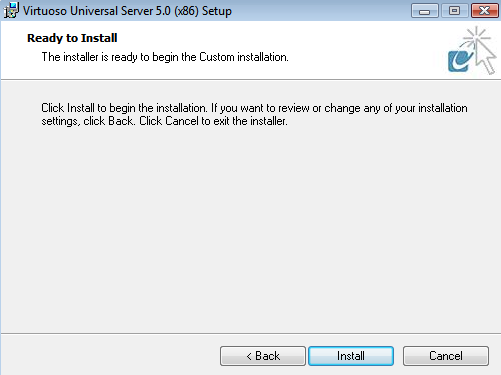
The installer is now ready to begin the installation, choose the "Install" button to commence the process.
Figure 7.19. Begin installation
-
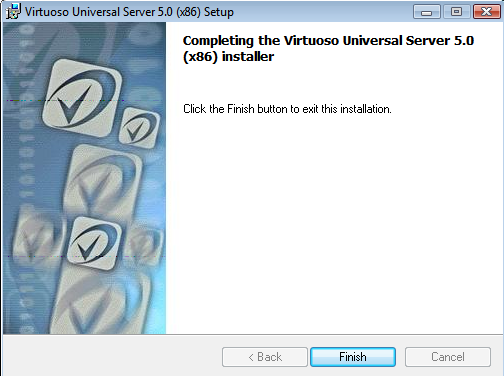
The installation was successfully completed.
Figure 7.20. Installation completed
-
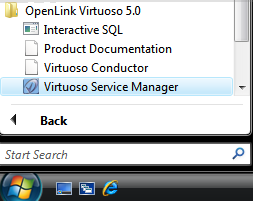
Post installation the Virtuoso Server can be started by running the "Virtuoso Service Manager" which gets added to the Windows "Icons Tray" in the status bar.
Figure 7.21. Post installation
-
Double click on the "Virtuoso Service Manager" icon in the "Icons Tray" to load the application, select the "OpenLink Virtuoso Server" instance and press the "Start" button to run the Service.
Figure 7.22. Virtuoso Service Manager

-
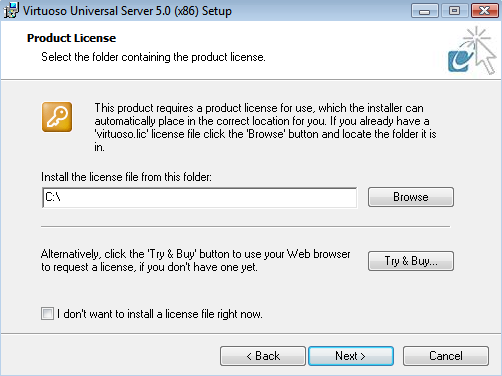
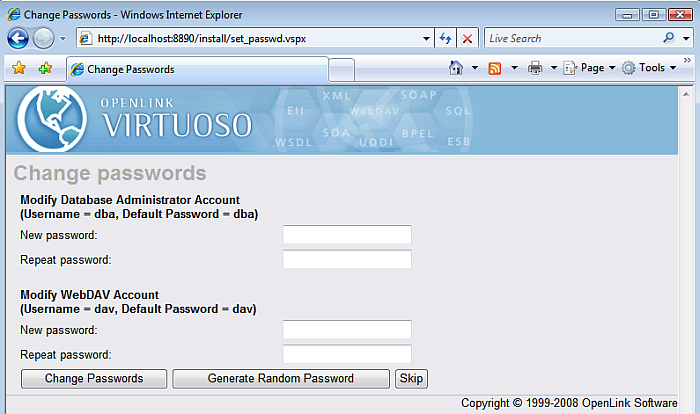
Once the Virtuoso service has successfully started, it is *recommended* that the default "dba" and "dav" passwords be changed to secure values by loading the URL "http://example.com/install" in a Web Browser which loads the following page for making these changes.
Figure 7.23. Defaults
-
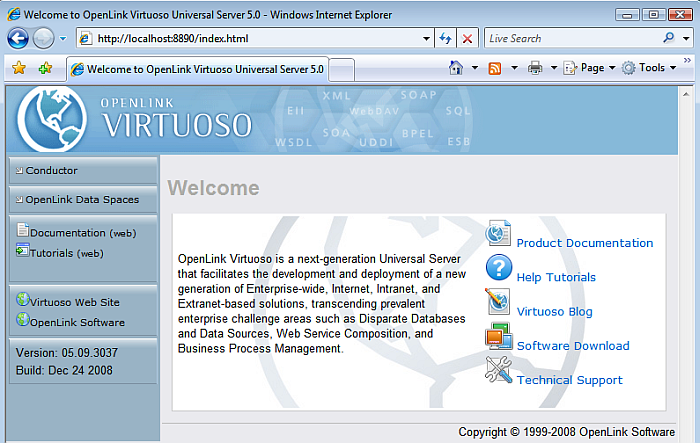
The Virtuoso Server is now available for use.
Figure 7.24. Virtuoso Server
-
The installation of the ADO.Net Provider can be verified by checking the %WINDOWS%\assembly folder and checking that the Provider(s) chosen for installation is(are) listed - "virtado3" and/or "virtado2".
Figure 7.25. Installation verification
The installation of the ADO.Net Provider Client and Virtuoso Universal Server is complete.
Uninstallation
-
If you attempt to run the installer again, the following message will be displayed.
Figure 7.26. Installer message
-
The Provider can be uninstalled from the "Control Panel" -> "Programs and Features" menu, by selecting the "Virtuoso Client Connectivity kit" from the list of installed components and clicking the "unistall" option presented.
Figure 7.27. Uninstall
-
Choose "Yes" to uninstall the Virtuoso ADO.Net Provider.
Figure 7.28. Uninstall